


We have the hardware and operating system. Now we have to make our server accessible outside of our home network. Since many home accounts have a dynamic IP address, it is very difficult to constantly remember what set of numbers is the IP address of your home network. With a dynamic DNS client, instead of memorizing a series of numbers to access the home server, a simple web address will direct you to it. Read on to set-up this client.
Contents
Video Tutorial
Check out the video tutorial. If not, the written instructions are just below.
Sign up for a No-IP account
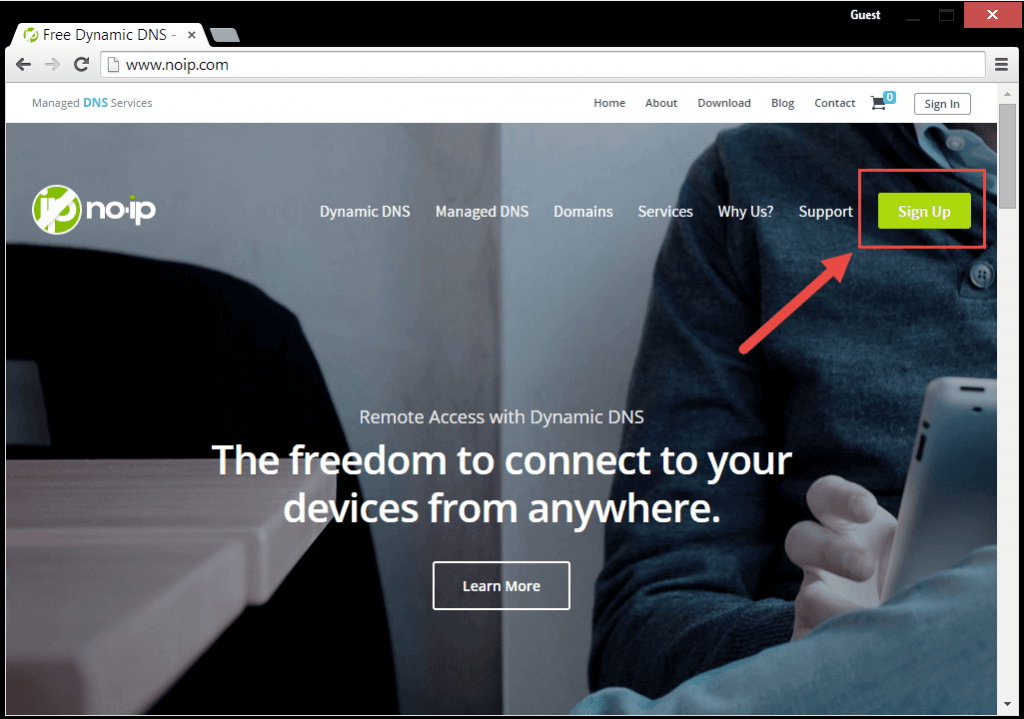
- Open a web browser and navigate to www.noip.com
- Click on the “signup” button.
- Fill out contact information and click the ” free signup” button
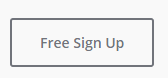 at the bottom of the page.
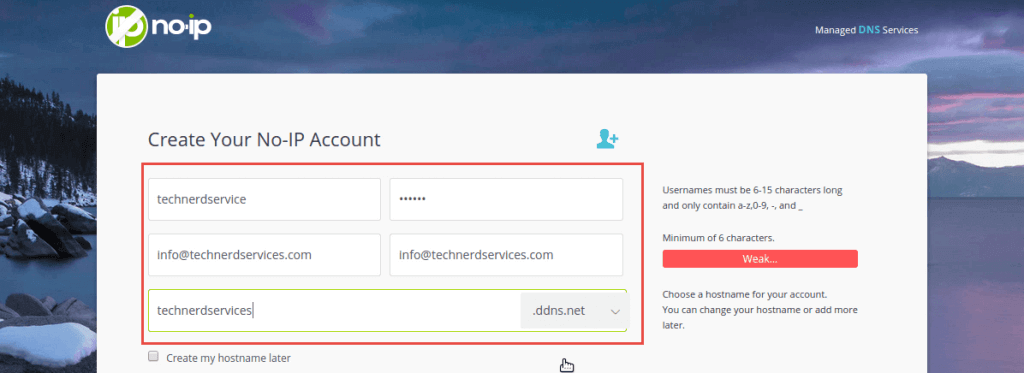
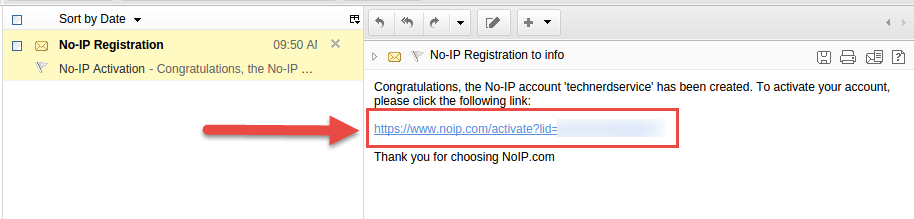
During the signup process, you will chose a hostname. This hostname is the web address that will be associated with your account. Be thoughtful about choosing a hostname as it will be what you and other type in to get to your home server. - Open your email client and confirm your account.


Installing the No-IP Client in Ubuntu
- On your Ubuntu home server, launch the program :Terminal.”
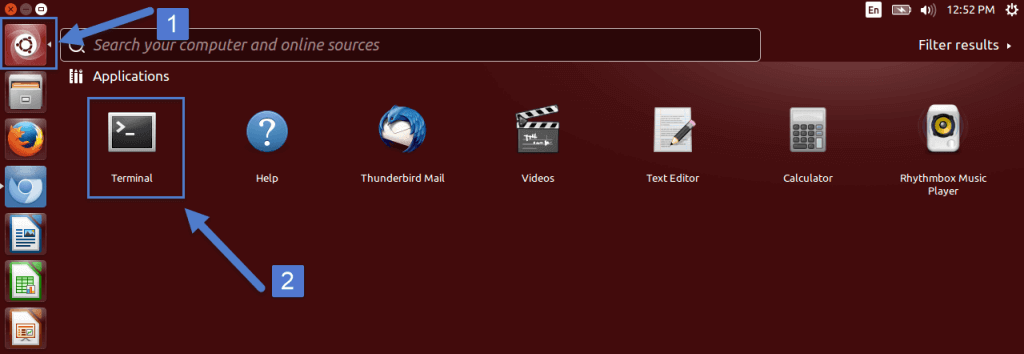 It should look like a dark box with a blinking insertion point at the top left.
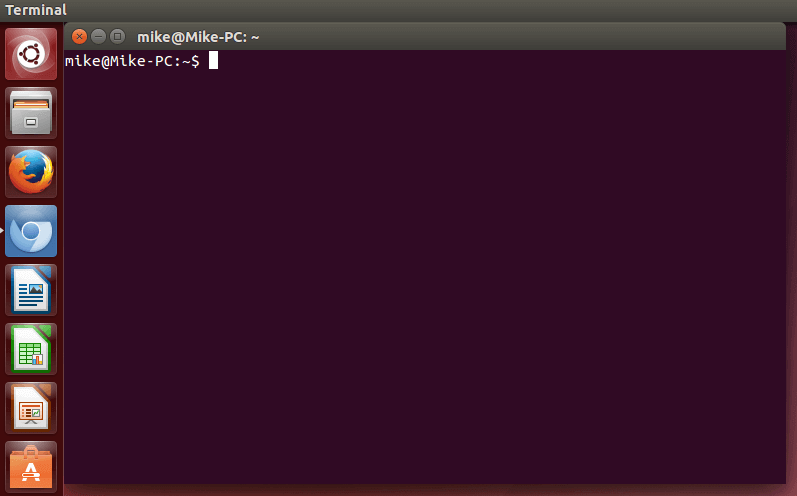
- Copy and paste each subsequent line into terminal. Be sure to hit the “Enter” key on your keyboard to launch each command.
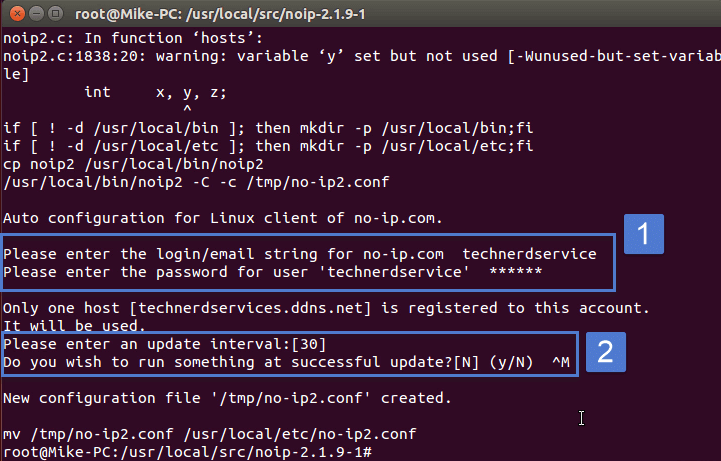
sudo -s
cd /usr/local/src/
wget http://www.no-ip.com/client/linux/noip-duc-linux.tar.gz
tar xf noip-duc-linux.tar.gz
cd noip-2.1.9-1/
make install
- Your Terminal screen will stop adding text and prompt for your No-IP username and password. There will also be additional prompts. You can select the defaults by tapping the “Enter” key on your keyboard.

Setup Port forward on your Router
Note that not all routers have the same settings pages. However, the feature Port forward is found on all routers with the feature. We need to setup a Port forwarding rule so that when you are accessing your server from outside your home, your router can direct your connection to the right computer.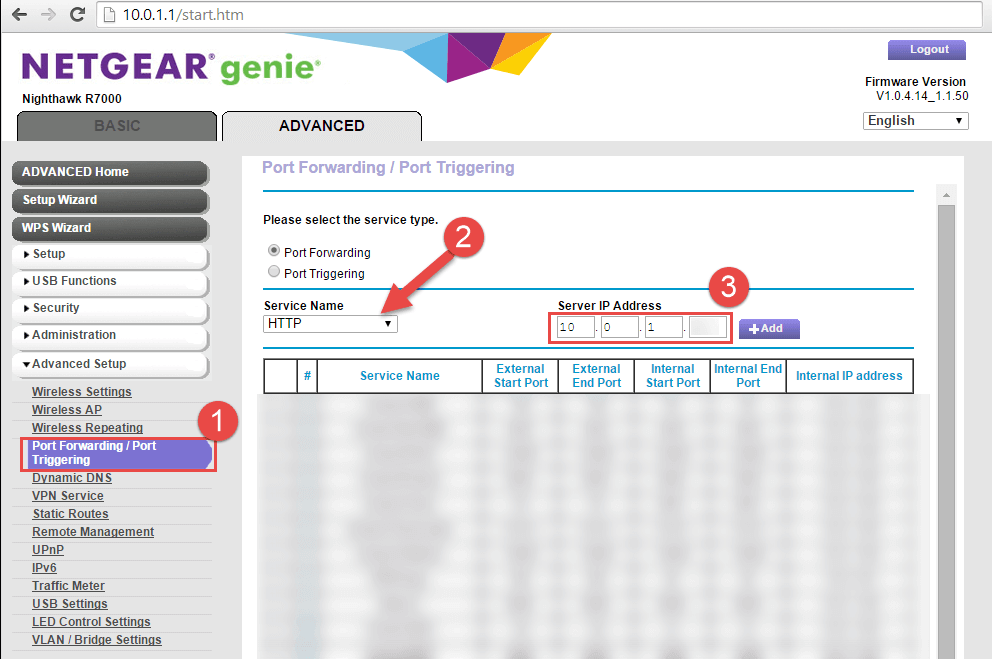
Conclusion
We have setup all the legwork to getting our home server up and running. Next we will begin to add features to our server. Check out how to install ownCloud online file storage and start accessing your files anywhere.
Support Us!
Thank you for reading this article. If you found it useful, please consider buying us a coffee, subscribing to the YouTube Channel, and/or changing your Amazon bookmark to our affiliate link (CAN, USA, UK). We do this out of general interests and to help others. Thanks!


Leave a Reply