


With increased concerns regarding internet security, adding additional preventative measures to publicly accessible computers like the one in this Home Server Series is an almost automatic inclusion. Find out how to create a self-signed SSL certificate and force all traffic to be redirected to secure HTTPS from unsecured HTTP. A self-signed certificate uses the same encryption as a certificate generated by a signing authority like StartSSL. The main difference is that certificates from signing authorities are verified by that third party and will not throw a warning when used. Since self-signed certificates do not have third party verification, each time the secured site is visited, a warning will appear in the browser.
Contents
Video Tutorial
Prerequisites
- an Ubuntu/Debian Operating System (Desktop or Server editions)
- a public web address (static or dynamic DNS)
- a LAMP server
Create a Self-Signed SSL Certificate
- Ensure all software packages are up to date. In ‘Terminal,’ type the following:
sudo apt-get update && sudo apt-get upgrade -fy && sudo apt-get dist-upgrade -fy
NOTE: If you are using a desktop version, simply run the software updater.
- Create a new folder directory to store the SSL certificate and create the SSL certificate,
sudo mkdir /etc/apache2/ssl
sudo openssl req -x509 -nodes -days 730 -newkey rsa:2048 -keyout /etc/apache2/ssl/apache.key -out /etc/apache2/ssl/apache.crt
NOTE: The SSL certificate will be valid for two years (hence the 730 days). After which a new certificate will need to be made.
 NOTE: If the above code outputs an error, ensure that openssl is installed:
sudo apt-get install openssl

Configure Apache Web Server
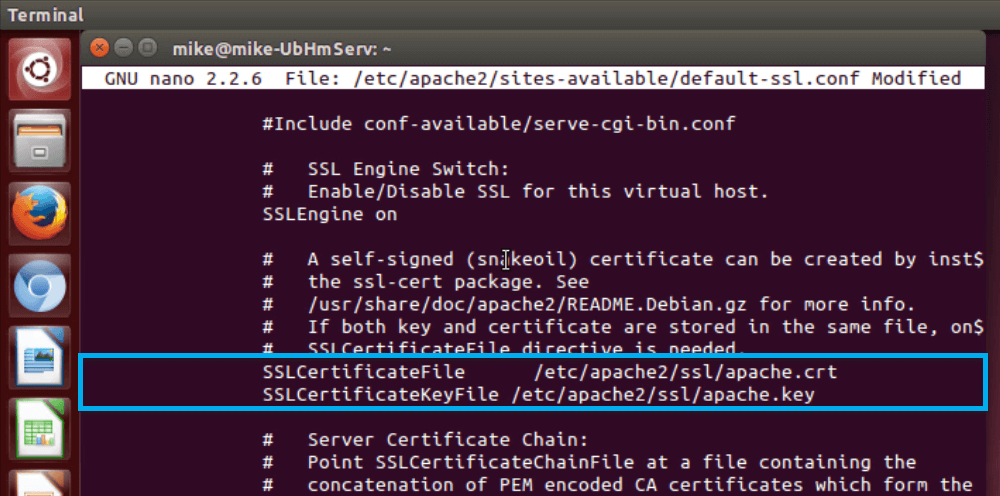
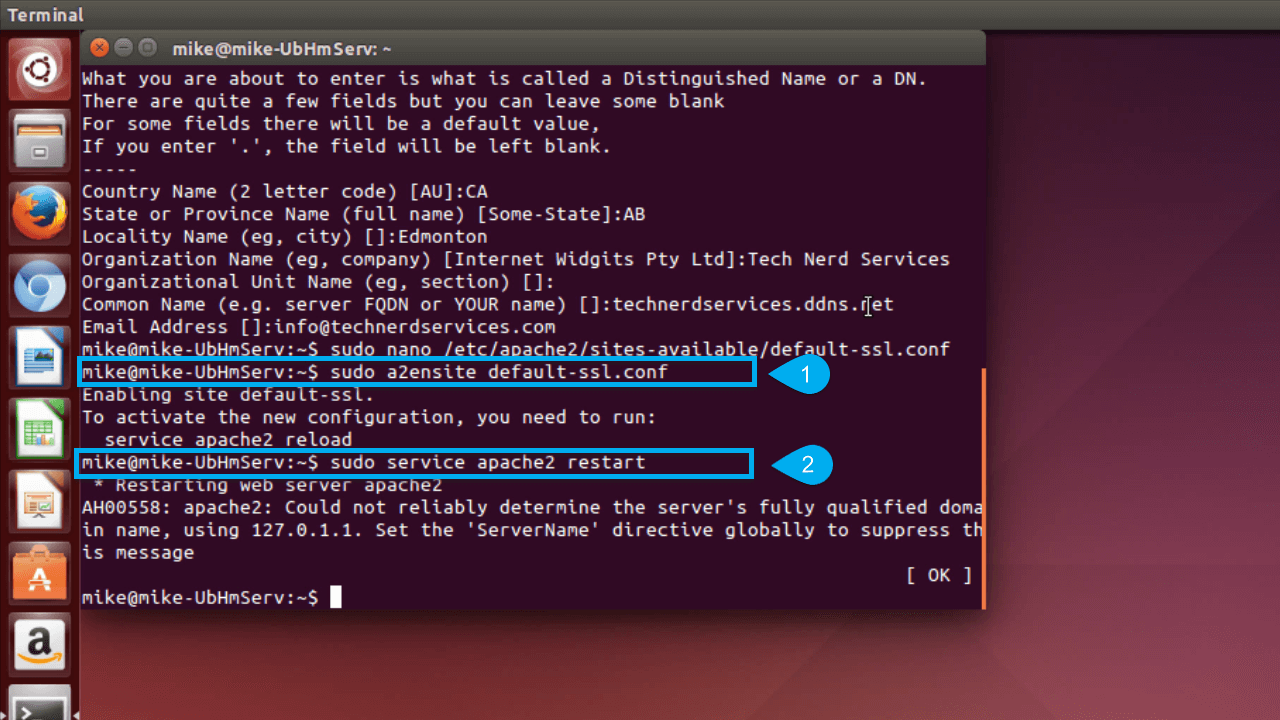
- Open default SSL configuration file:
sudo nano /etc/apache2/sites-available/default-ssl.conf
NOTE: code is found in previous image (#3)
- Scroll down with the arrow keyboard keys until the lines containing SSLCertificateFile and SSLCertificateKeyFile. Modify the file locations with the new SSL certificate locations.
SSLCertificateFile /etc/apache2/ssl/apache.crt
SSLCertificateKeyFile /etc/apache2/ssl/apache.key
- Save the configuration file using the keyboard command “Ctr”+”O” and exit the editor with “Ctr”+”X”.
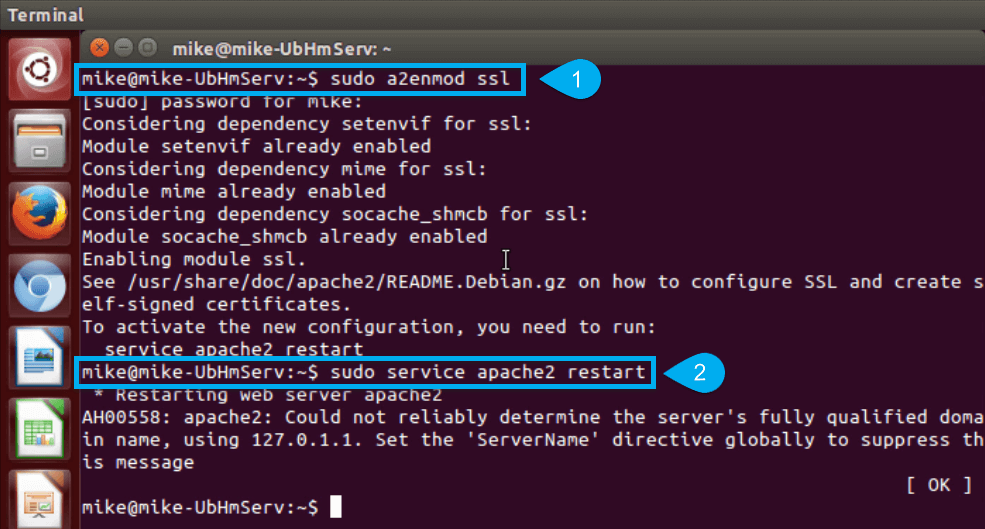
- Enable the Apache SSL mod:
SSLCertificateFile /etc/apache2/ssl/apache.crt
SSLCertificateKeyFile /etc/apache2/ssl/apache.key
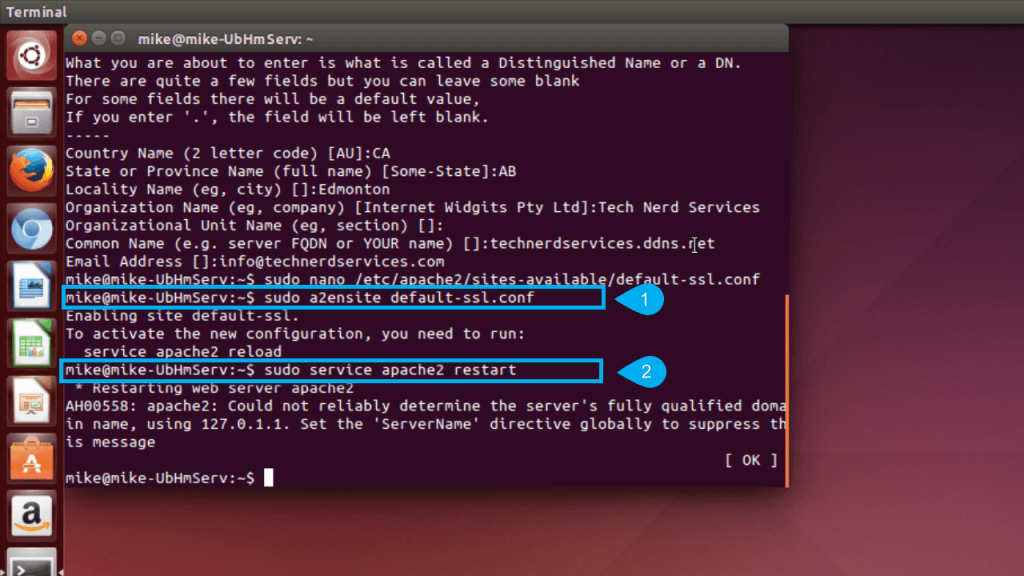
- Enable the default SSL site:
sudo a2ensite default-ssl
sudo service apache2 restart
Enable HTTP to HTTPS redirect in Apache
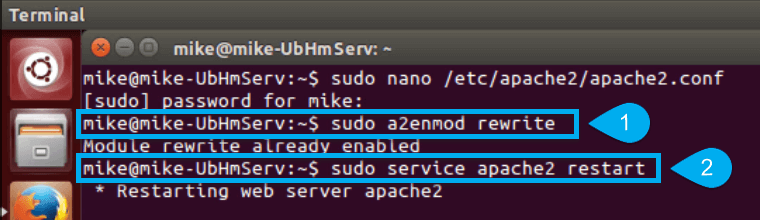
- Open the Apache configuration file:
sudo nano /etc/apache2/apache2.conf

- Scroll to the bottom of the file and add the following lines:
# HTTP to HTTPS Redirect
RewriteEngine On
RewriteCond %{HTTPS} !=on
RewriteRule ^/?(.*) https://%{SERVER_NAME}/$1 [R,L]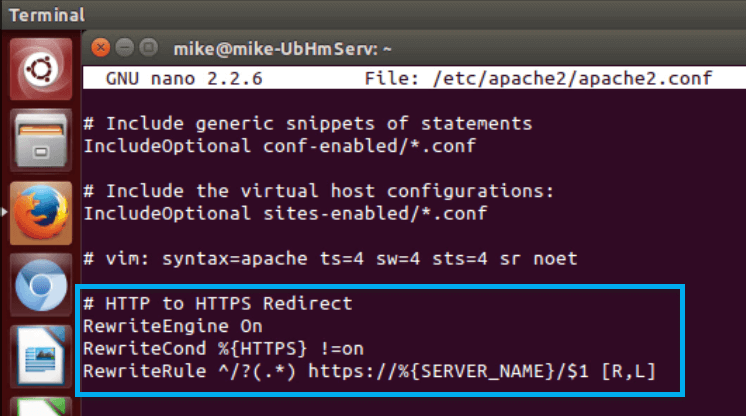
- Save the configuration file using the keyboard command “Ctr”+”O” and exit the editor with “Ctr”+”X”.
- Enable the Apache rewrite mod:
sudo a2enmod rewrite
sudo service apache2 restart
Add the Self-Signed Certificate to Firefox
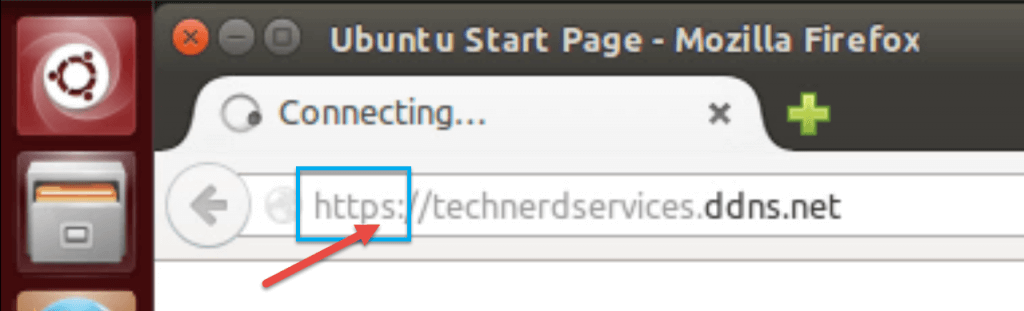
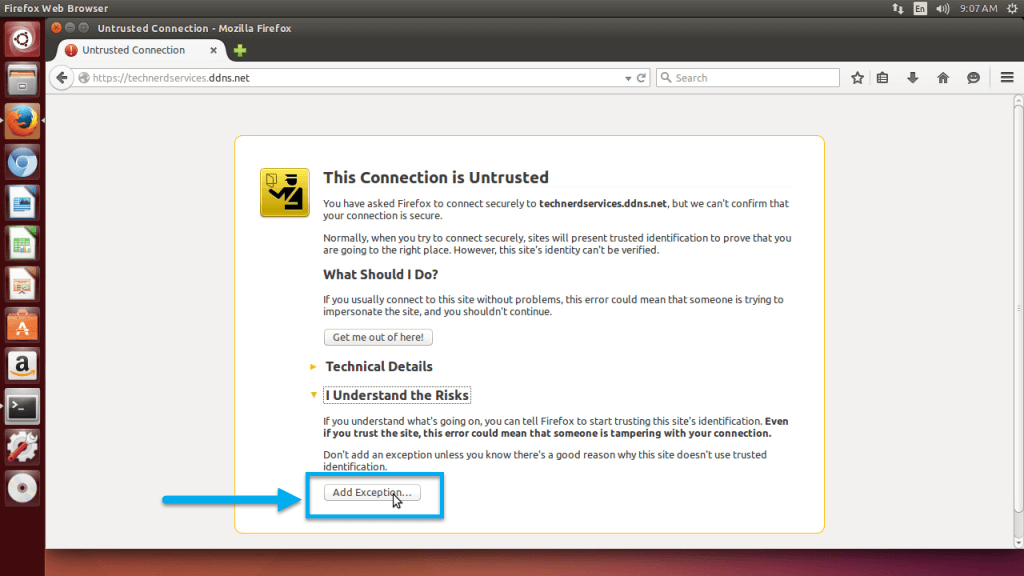
- Open FireFox and navigate to your website using the https protocol.
- Click on the “Add Exception” button at the bottom of the “This Connection is Untrusted” page.
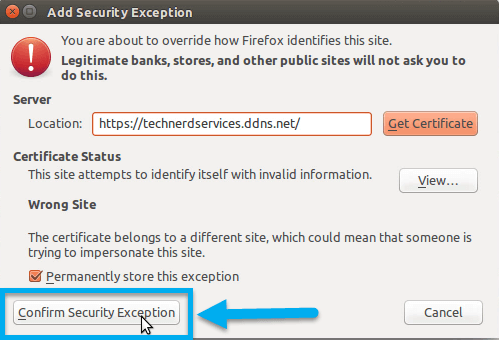
- Click on the “Confirm Security Exception” button.


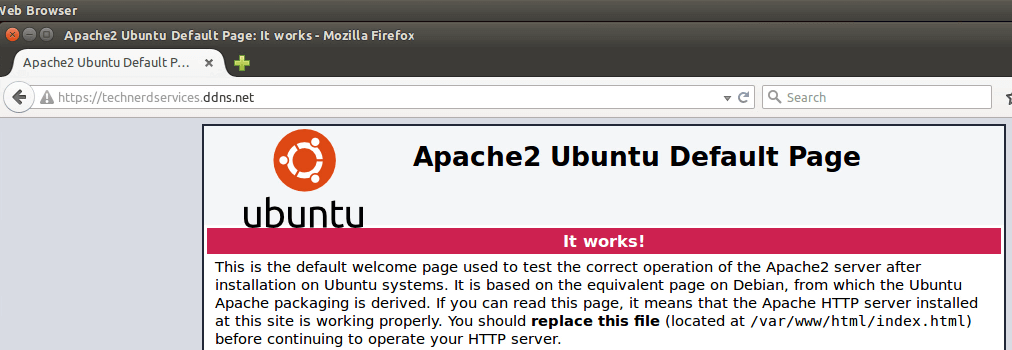
If Firefox redirects to the correct page, the SSL certificate installation is successful.
Setup Port Forward the Router
The final step is to forward the appropriate port on your router for SSL, port 443. In Terminal, use the command “ifconfig” to find the IP address of the computer and create a port forward rule for port 443 to the appropriate IP address on your router.

Closing Words
While there will never be a perfect solution for internet security, simple precautions such as adding SSL encryption can reduce the likelihood of online attacks. Other considerations for managing online risk includes separating the online computer from the rest of the network. Routers often have DMZ features which will perform this function. Join us next time as we conclude the Home Server Series.
Support Us!
Thank you for reading this article. If you found it useful, please consider buying us a coffee, subscribing to the YouTube Channel, and/or changing your Amazon bookmark to our affiliate link (CAN, USA, UK). We do this out of general interests and to help others. Thanks!


April 23, 2015 at 6:28 AM
This is a very good articles! I am swept away
by your presentation and unique points of views. I agree with a lot.
I’ll keep coming back for more great posts.
my web-site … Michael Rednour site (Kristin)
May 5, 2015 at 7:16 PM
Great tutorial! I happened across your ownCloud tutorial and it was very well done. This one finished the installation nicely.
To complete your instructions I’d recommend you include an additional port forwarding step for us newbies. I had HTTP working without a hitch but was stuck for a while until I figured out that HTTPS required a different port forwarding set up.
Thanks a lot for putting this together!
May 9, 2015 at 9:58 AM
Thanks a bunch. I added the section.
August 20, 2015 at 12:15 AM
Hello error error: ssl_error_rx_record_too_long) on firefox …I followed all the steps and opened ………….. 443 port on my router and it still gives me this error ………….help
August 21, 2015 at 11:08 AM
Hey Jonathan,
Try remaking the SSL key and see what happens. Also, because this SSL certificate is not verified, Firefox will always throw out a warning when the certificate is working.
I hope that helps.
October 24, 2015 at 9:42 PM
I followed along, doing this on a Virtual Server, there’s no router to deal with. All my website info is in var/www. For some reason the https:// version of links is sending me to a 403 error, not allowed at “/”. Do you have any idea how to fix that?
October 27, 2015 at 6:36 PM
Depends on how you have your virtual server setup. If you have it hosted elsewhere, they have to provide you with https access as it is a port that the host has to turn on.