


Throughout this series, we have discusses why Google Drive is useful and how to share files stored in it. We’ve also talked about organizing files with folders and their subsequent share settings. However, the more difficult transitions users face when moving from Microsoft Office to Google Apps is the change in editing Microsoft Office files such as Word, Excel and PowerPoint files. Read on to learn three different methods of editing these files within Google Apps.
Contents
- 1 Video Tutorial
- 2 Written Instructions
- 2.1 Method 1: Convert the Microsoft file to the Google Doc equivalent
- 2.2 Method 2: Download the file to edit in Microsoft Office and then re-upload the file again using “Manage versions”
- 2.3 Method 3: Add the Google Chrome extension to edit Microsoft Word, Excel and PowerPoint Files in Google Chrome
- 2.4 Final Thoughts
Video Tutorial
Written Instructions
Method 1: Convert the Microsoft file to the Google Doc equivalent
Google has its own equivalent files to Microsoft Offices Word, Excel, and PowerPoint files called Google Docs, Sheets and Slides (often abbreviated to Google Docs or Google Docs Suite) . When using these Google file formats, the full features of Google Docs are accessible to the files. Not only are the files shareable in the same way uploaded files are, they have additional features such as online editing and commenting. Furthermore, for personal Google Apps, Google Docs do not contribute to Google Drive’s online storage capacity, extended the 15 GB of total storage Google provides. Once a Microsoft Office file is converted to a Google Doc, the original file is no longer necessary and can be delete. The following steps outline converting a Microsoft Office file into a Google Doc.
- In Google Drive, double click on the Microsoft Office file that you would like converted. A preview of the file will appear.
- Click on the Google Docs icon in the menu of the file preview.

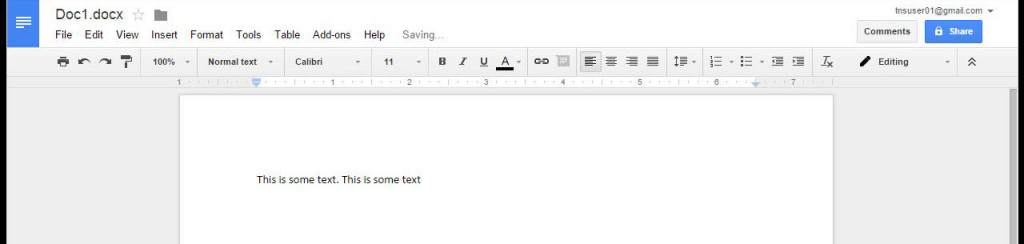
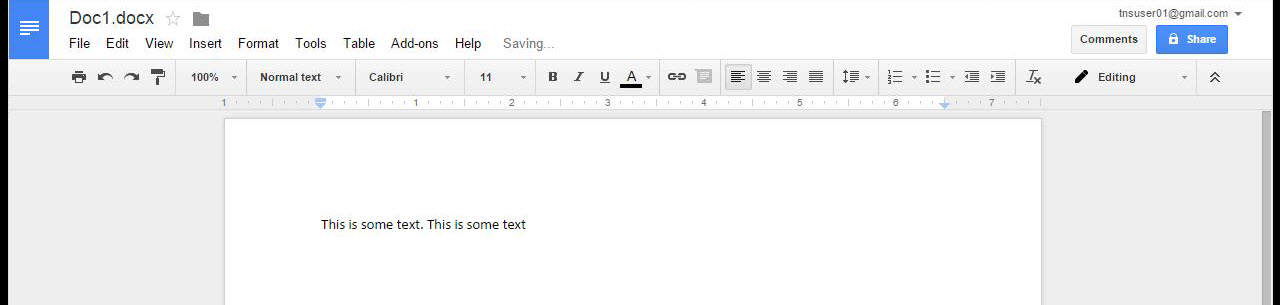
- The file will open as a Google Doc in a new tab of the web browser. This file is now editable within the web browser.

NOTE: Google Drive will now have two copies of the file: a Microsoft Office and Google Doc file. To avoid confusion, delete the Microsoft Office file and keep just the Google Doc. 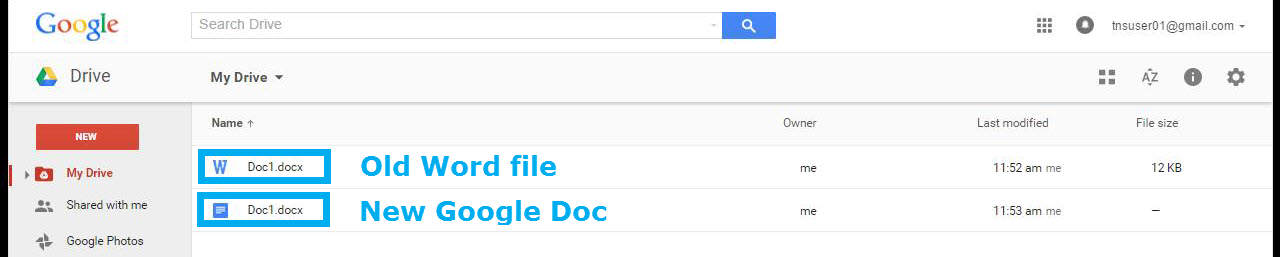
Method 2: Download the file to edit in Microsoft Office and then re-upload the file again using “Manage versions”
If you still prefer to edit documents in Microsoft Office, this method allows you to download the desired file and then re-upload the file once the edits are complete. While this method is the most complex, it allows users to continue to use the full features of Microsoft Office, and utilize the sharing features of Google Drive.
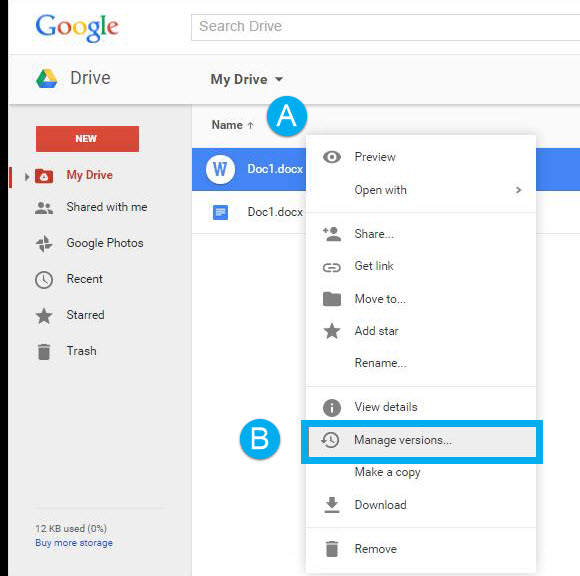
- Right-click on the desired file (A) and click on “Download” in the menu (B).

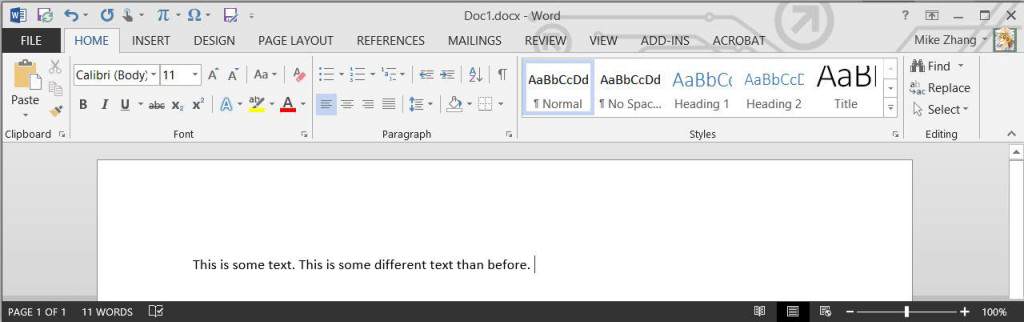
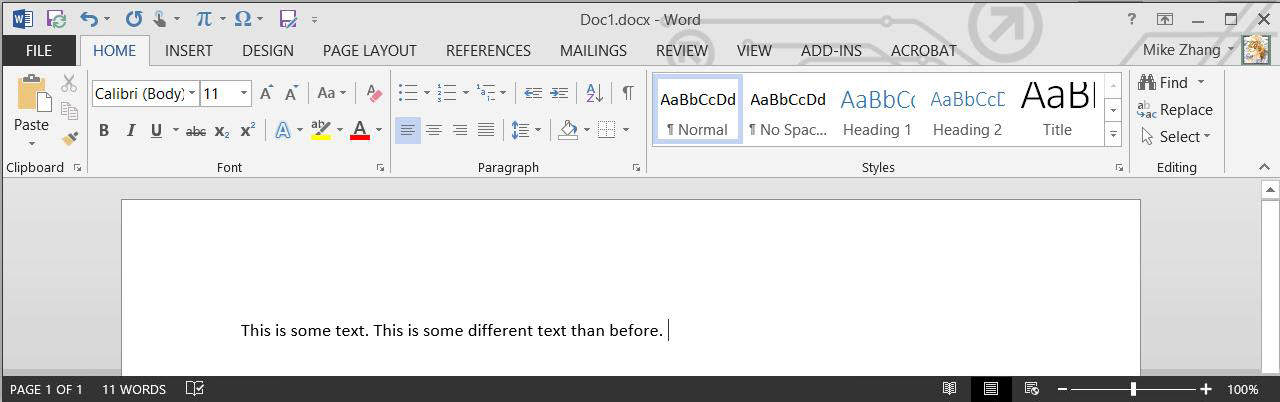
- Once the file downloads, open the file in its respective Microsoft Office product. (If you are having difficulties finding the file, check your “Downloads” folder).
- Once editing is complete, save the file and navigate back to Google Drive.
- Find the file on Google Drive and right-click on the file once again (A). This time, select “Manage versions…” (B).
- A dialogue box will appear. Click on the button “Upload new version” and select your edited file saved on your computer. Once the file is uploaded, click on the “Close” button.
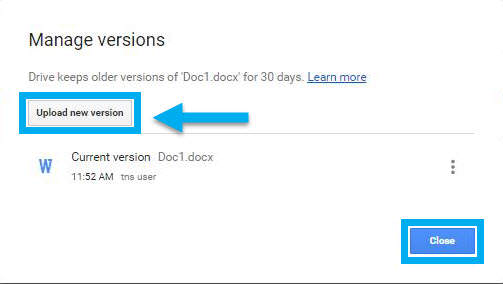
NOTE: In the “Manage versions…” dialogue box, you will be able to see previous version of the file and restore a previous version. 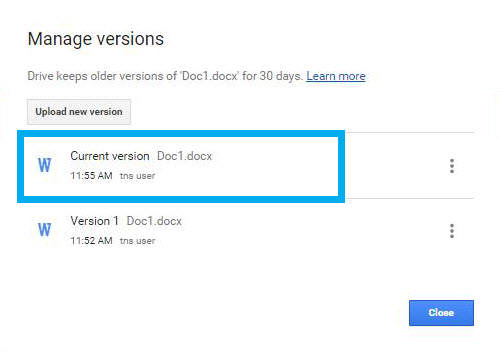
Why use “Manage versions…”?
New users of Google Drive often use this method but re-upload the file without using the “Manage versions…” feature of the Microsoft Office file. Therefore, many versions of the same file is uploaded to Google Drive as separate files. While inconsequential for files that are private, if files are shared to other users, not using the file’s “Manage versions…” features will result in collaborators not seeing any changes to the file. Thus, “Manage versions…” preserves the sharing settings of the file so that others who are collaborating with the file will be able to see the changes applied to the file.
Method 3: Add the Google Chrome extension to edit Microsoft Word, Excel and PowerPoint Files in Google Chrome
The final method uses uses Google’s Chrome extension to enable editing. If you use multiple computers often, whenever you sign in to Google Chrome, it will sync your settings and extensions. The following steps will setup the Google Chrome extension.
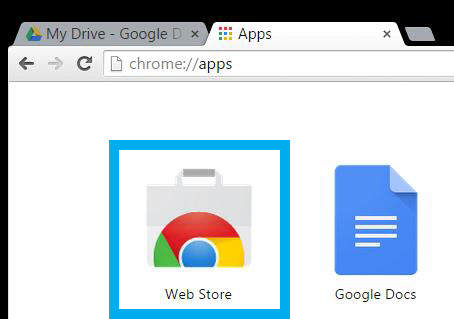
- Open a new tab in Google Chrome and click on the “Apps” button.

- Click on the Web Store icon.
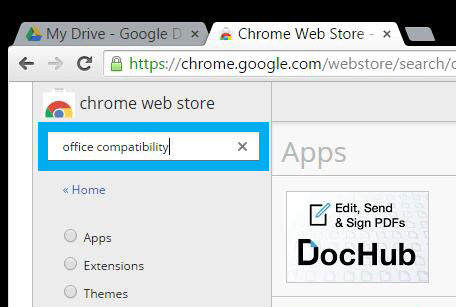
- In the search field, search for “office compatibility.”
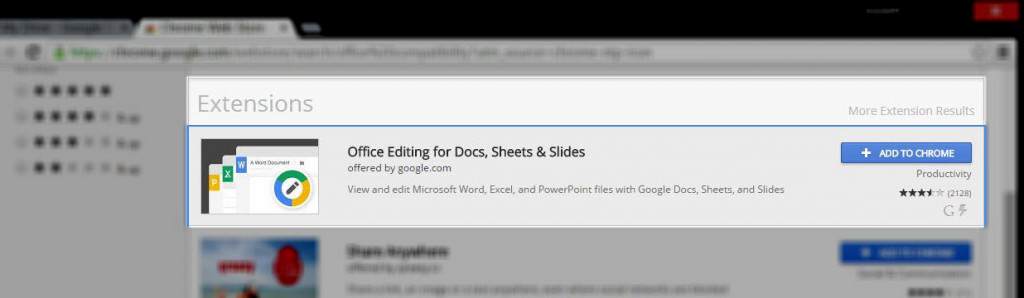
- Scroll to the extension section and click on the blue “+ ADD TO CHROME” button.
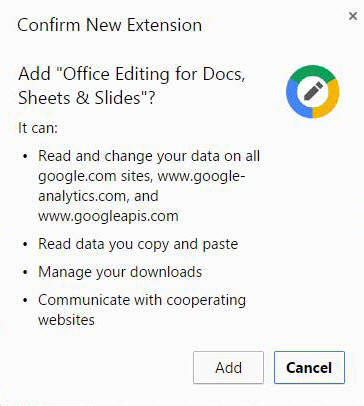
- A dialogue box will appear to outline the permissions of the extension. Click on the “Add” button.
- Once the extension is installed, refresh the Google Drive page to enable the application.
- When a Microsoft Word, Excel and PowerPoint is opened in Google Drive, it will open up in a new tab.


NOTE: The first time the online editor launches, a pop-up will appear.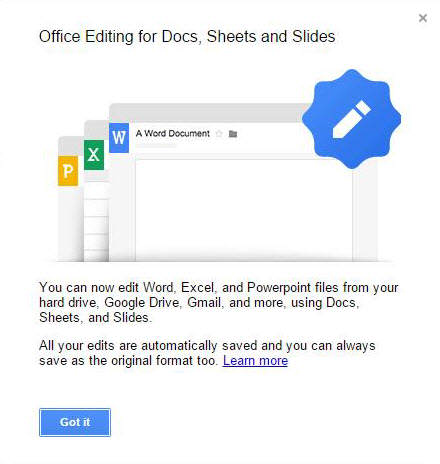
Final Thoughts
As technology keeps changing, how we manage our electronic office changes too. Hopefully these few tips help reduce the anxiety of new change. Especially when the change is something as integral to an office’s daily workflow as managing and editing documents.
Support Us!
Thank you for reading this article. If you found it useful, please consider buying us a coffee, subscribing to the YouTube Channel, and/or changing your Amazon bookmark to our affiliate link (CAN, USA, UK). We do this out of general interests and to help others. Thanks!


Leave a Reply