


phpBB is an online bulletin board web application. Often used as a community web forum, online bulletin boards promote online collaboration and discussion between groups with similar interests. Read on to learn how to install a self-hosted bulletin board on an Ubuntu 14.04.
Contents
Video Tutorial
Written Tutorial
Prerequisites
This tutorial assumes the following setup:
- A computer installed with Ubuntu 14.04 desktop/server edition. (Tutorial)
- (Optional) a public web address (domain or subdomain). (Tutorial)
Install Apache Web Server
- Open Terminal and install tasksel with the following command:
sudo apt-get install tasksel

- Once tasksel is installed, run tasksel
sudo tasksel
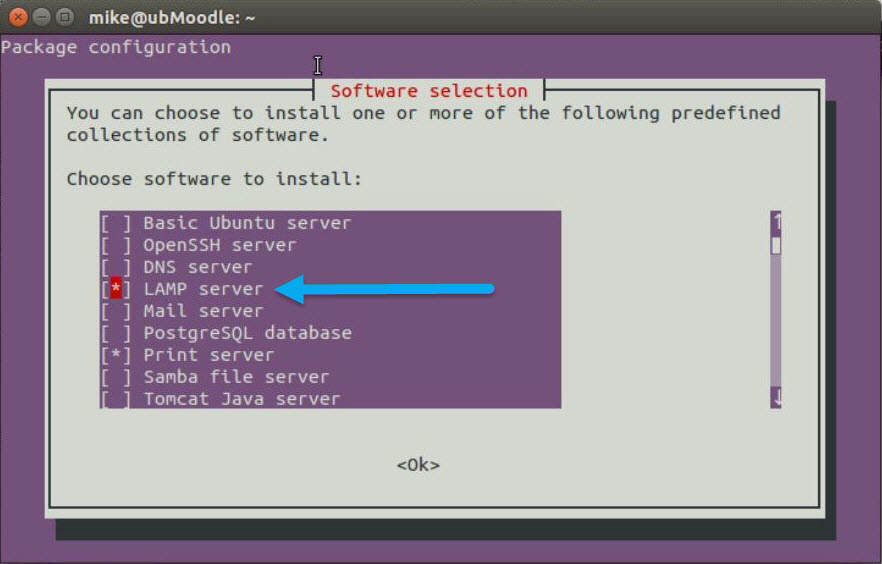
tasksel will display a menu. Use the arrow keys to navigate to “LAMP server”, hit the “spacebar” key to select the option and the “Enter” key to confirm the installation.
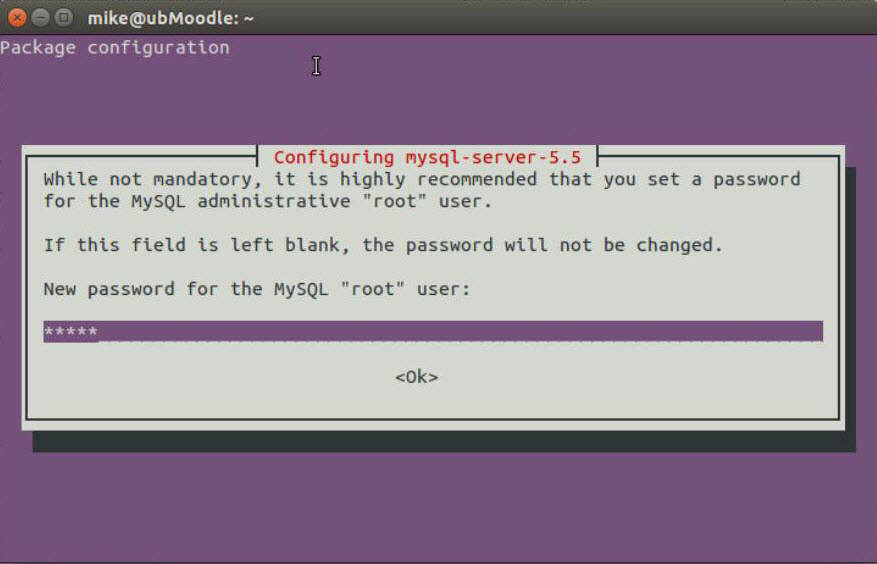
 During the install, the installer will prompt for a password for mySQL.
Install phpBB
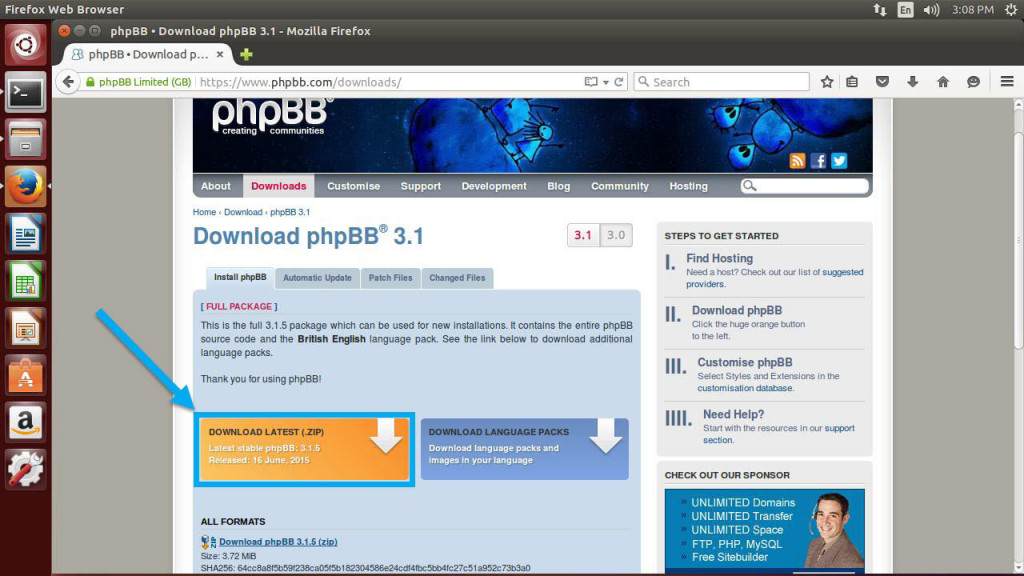
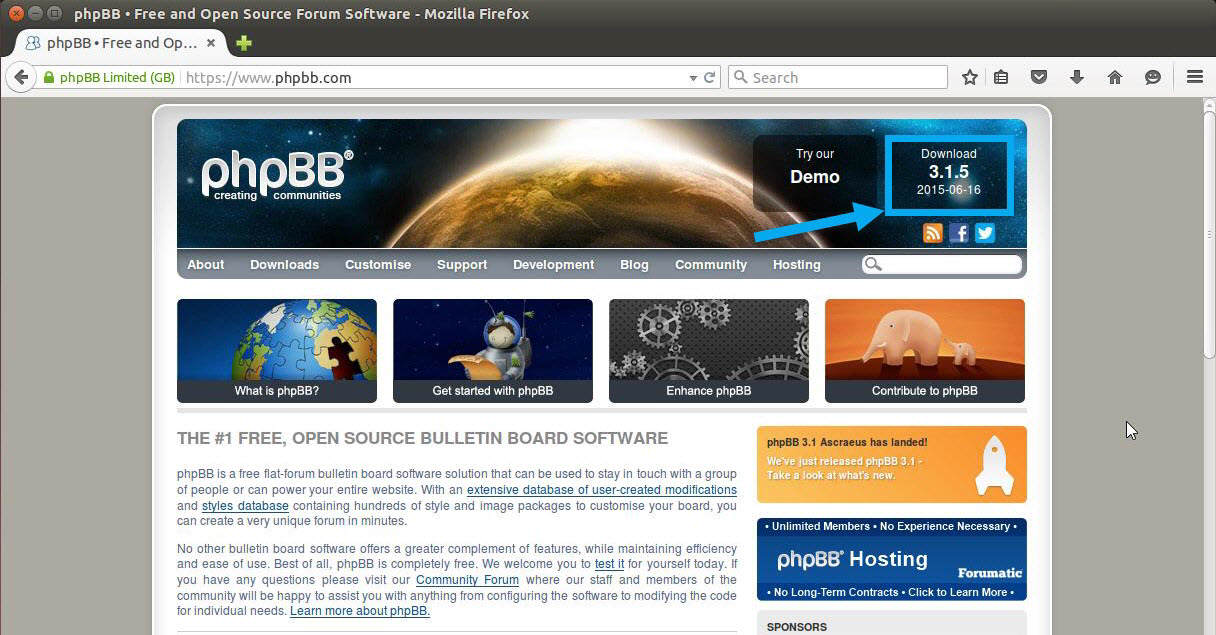
- Open a web browser and navigate to www.phpbb.com. Then click on the “Download” button int he top right corner of the screen.

- Click on the orange download latest zip file. (Optional, if you would like a different language other than British English, download the language packs, which is the blue button beside the orange button).
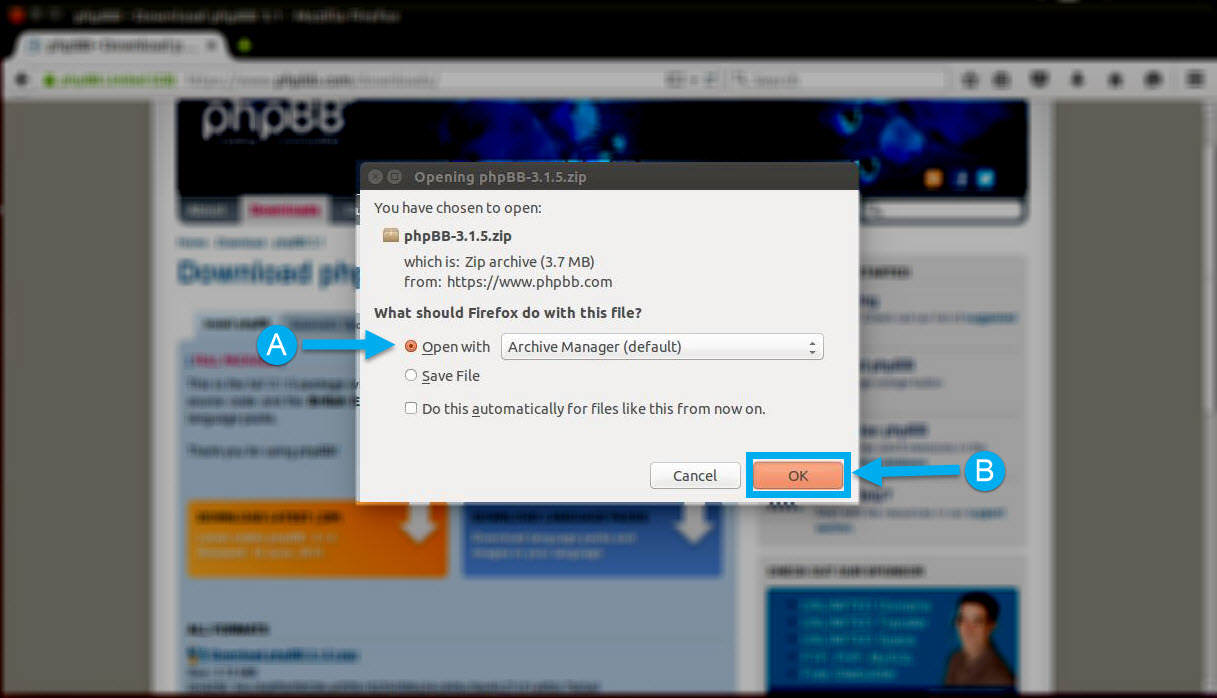
- Select the radio button to open the zip file with “Archive Manager” (A) and then click “OK” (B).

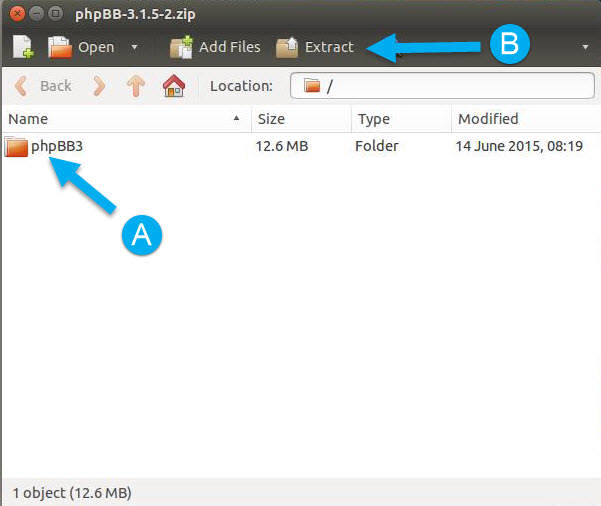
- In the Archive Manager, click on the phpBB3 folder (A) and then click on the “Extract” button in the menu (B).
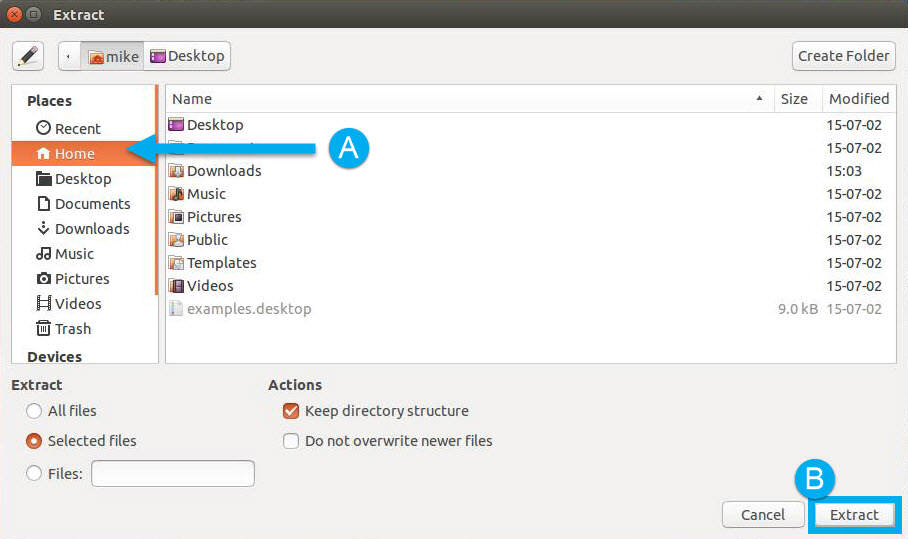
- In the file manager, the “Home” location should be selected by default; however, in case it is not, click on the “Home” location in the sidebar (A) and then click the “Extract” button (B).
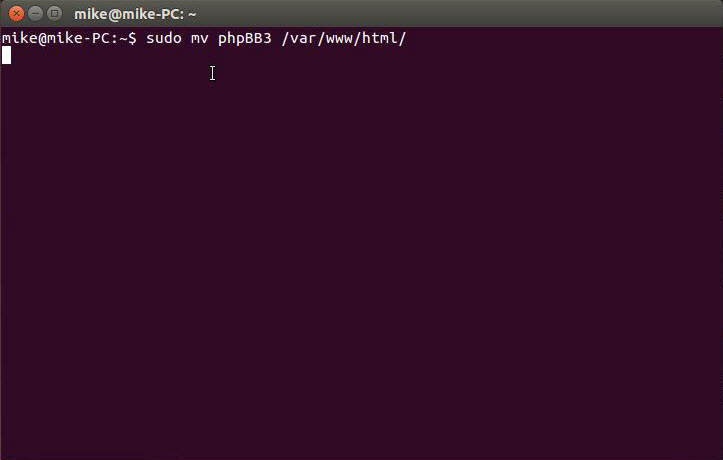
- Open Terminal and type in the following command to move the phpBB3 folder to the web server.
sudo mv phpBB3 /var/www/html/
- In Terminal, type the following command to change the ownership of the phpBB3 folder to the web server:
sudo chown www-data:www-data -R /var/www/html/phpBB3
- In Terminal, type the following command to change the permission level of the phpBB3 folder:
sudo chmod 775 -R /var/www/html/phpBB3

Create a MySQL Database
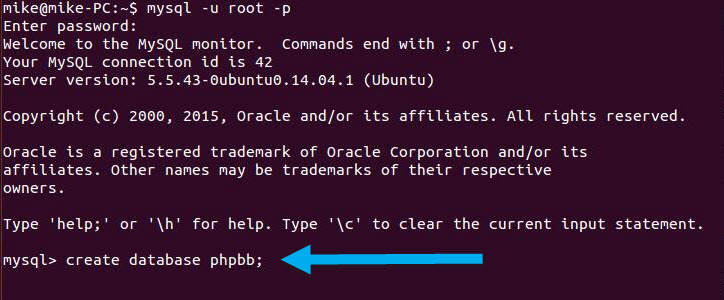
- Still in Terminal, type in the following command to access MySQL:
mysql -u root -p
NOTE: When prompted for a password, use the password created during the LAMP server install.
- Type in the following command to create the database “phpbb”:
create database phpbb;
- Exit the MySQL shell but typing “exit.”
Complete Installation in the Web Browser
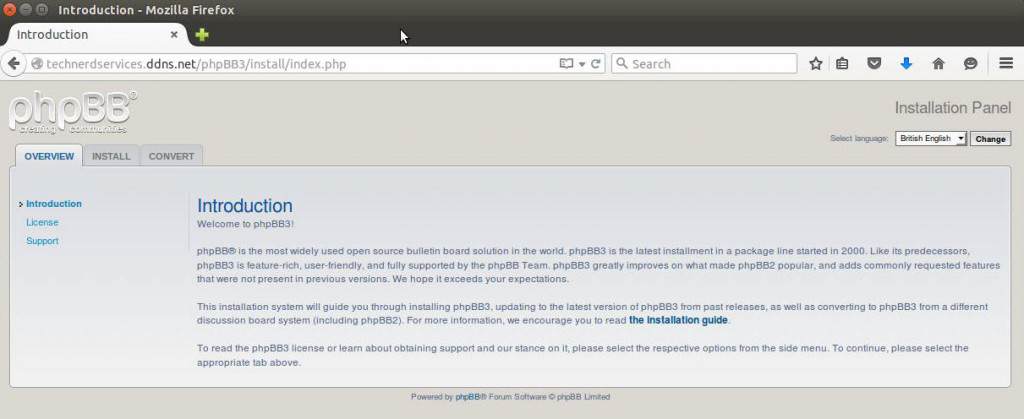
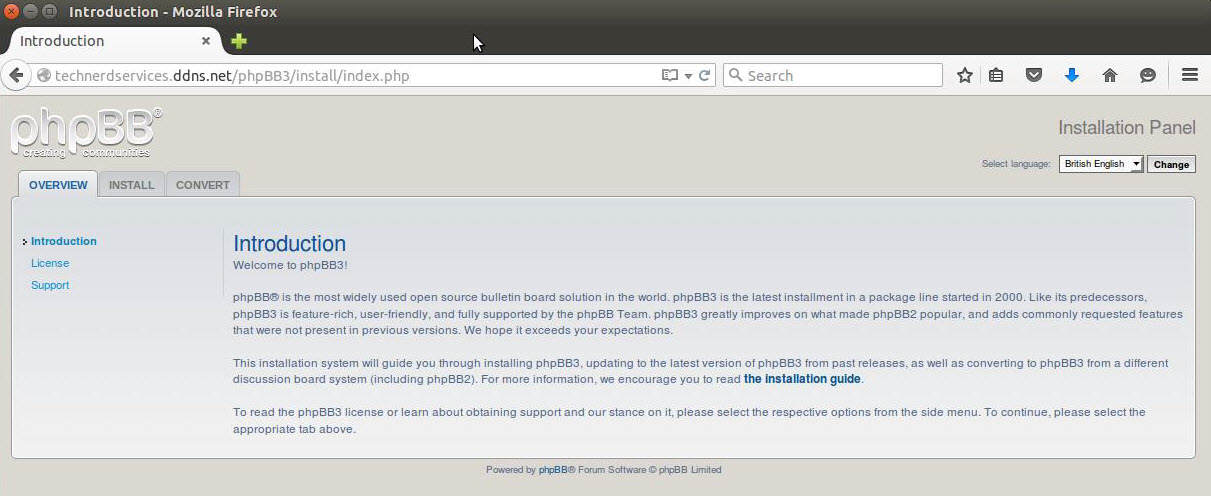
- In the web browser, navigate to the web server and append the folder name (most likely “/phpBB3”). For example, “http://technerdservices.ddns.net/phpBB3” is the web address and phpBB folder for the demo in the YouTube video.
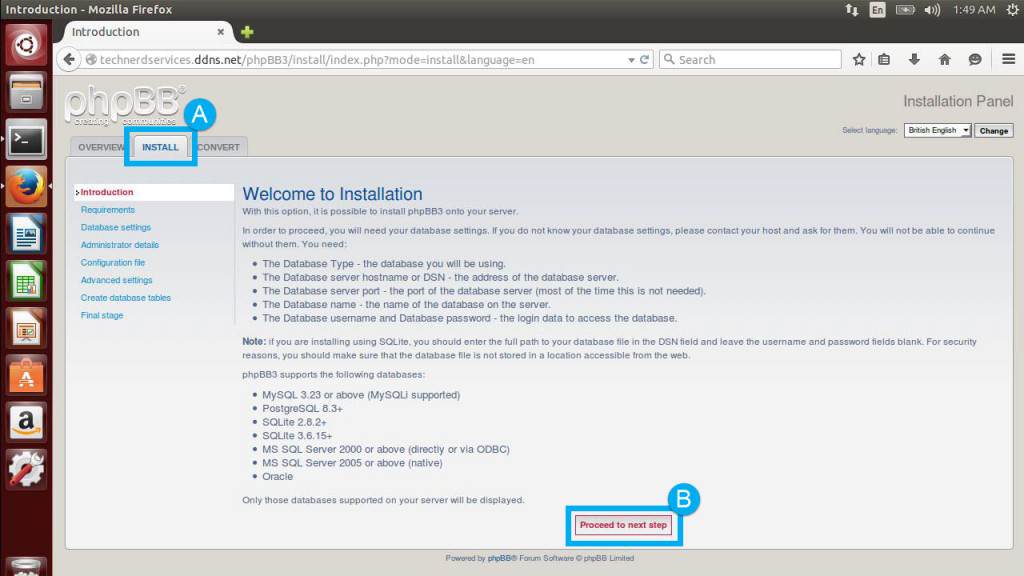
- Click on the “Install” tab (A), then click on the “Proceed to next step” button (B).
- The following page will test to ensure that all dependencies are installed. All sections should have green confirmation text except for the database section, where only the MySQL section will have green text and the others are red. This is normal. Click the “Start Install” button if all other sections are green. If there are sections that are still red, ensure that the folder permissions are correct and that the LAMP server is installed correctly.

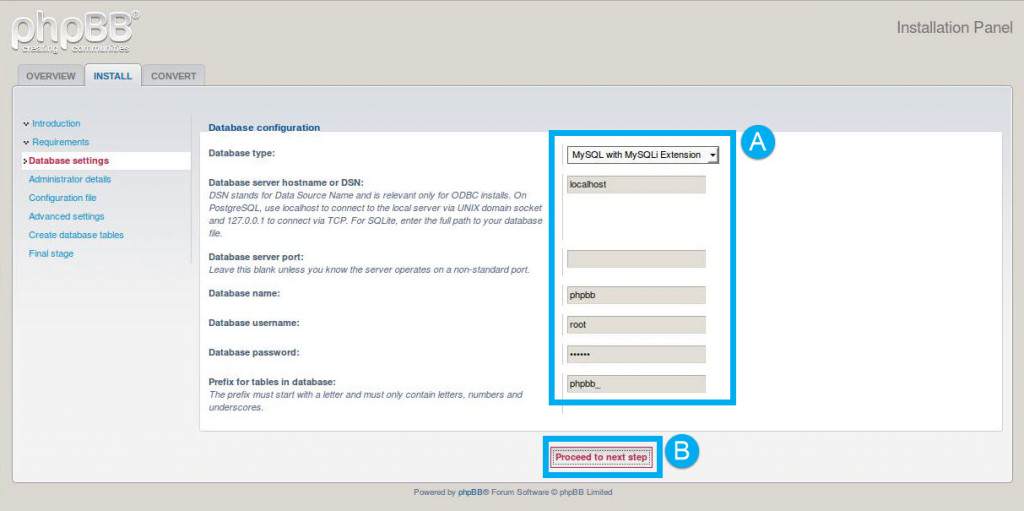
- Fill out the information for the Database that was created. If you have followed all the instructions of this tutorial, the database server hostname is “localhost”, the database name is “phpbb”, the username is “root” and the password is the one from the LAMP installation. The server port can be blank and the table prefix can remain the default. Once all the previous fields are filled (A), click on the “Proceed to next step” button (B).
- phpBB will test the database connection to ensure the information is successful. If there is an error, go back and check the database information. Click on the “Proceed to next step” button if the test is successful.

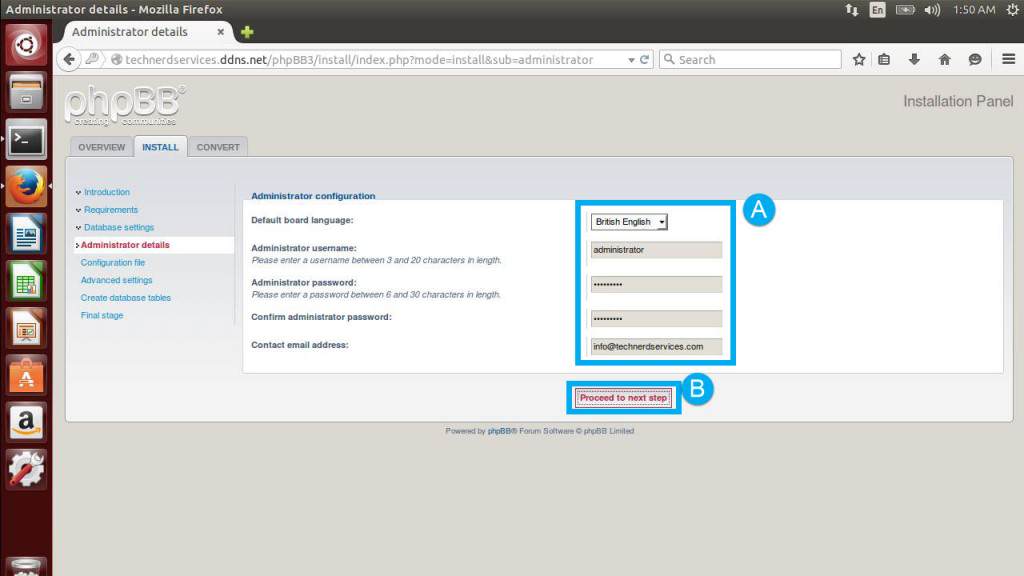
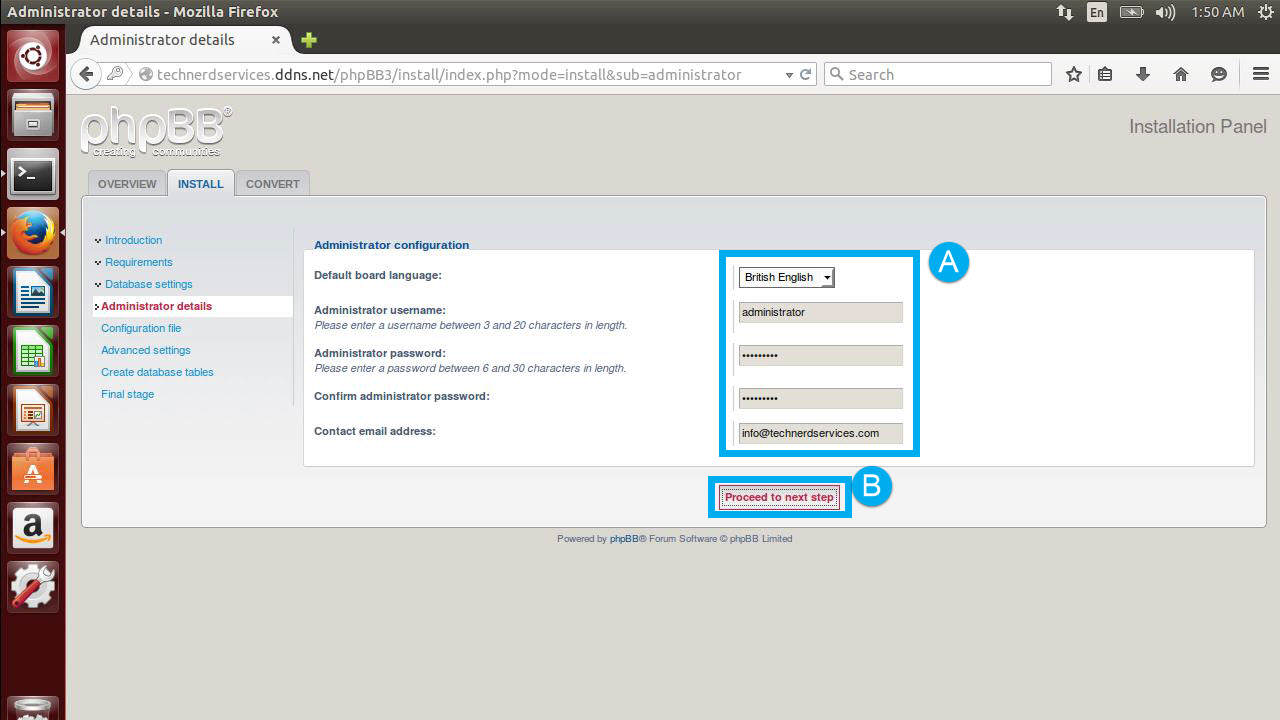
- Create the first administrator user. Fill in the username, password, and email address of the administrator account (A) and then click on the “Proceed to next step” button (B).
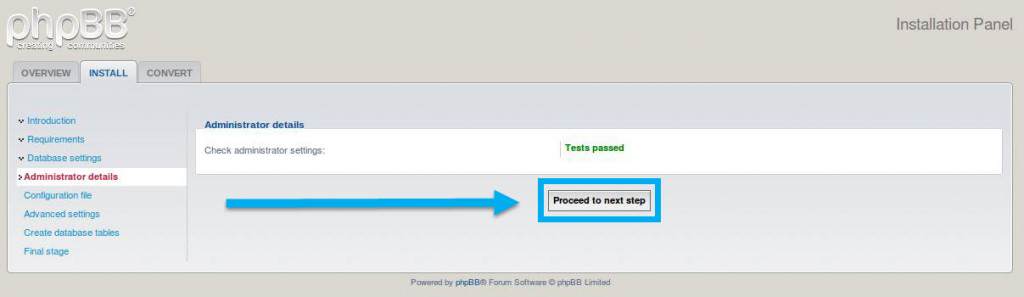
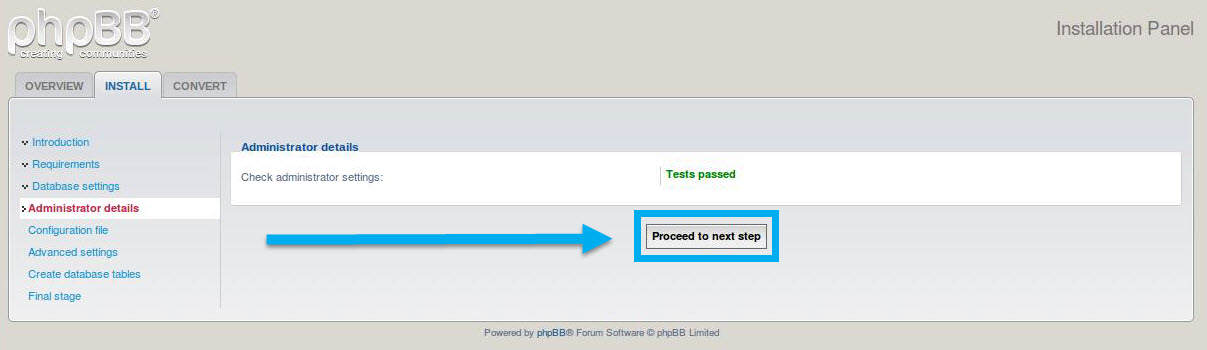
- phpBB will test the administrator settings, click on the “Proceed to next step” button.
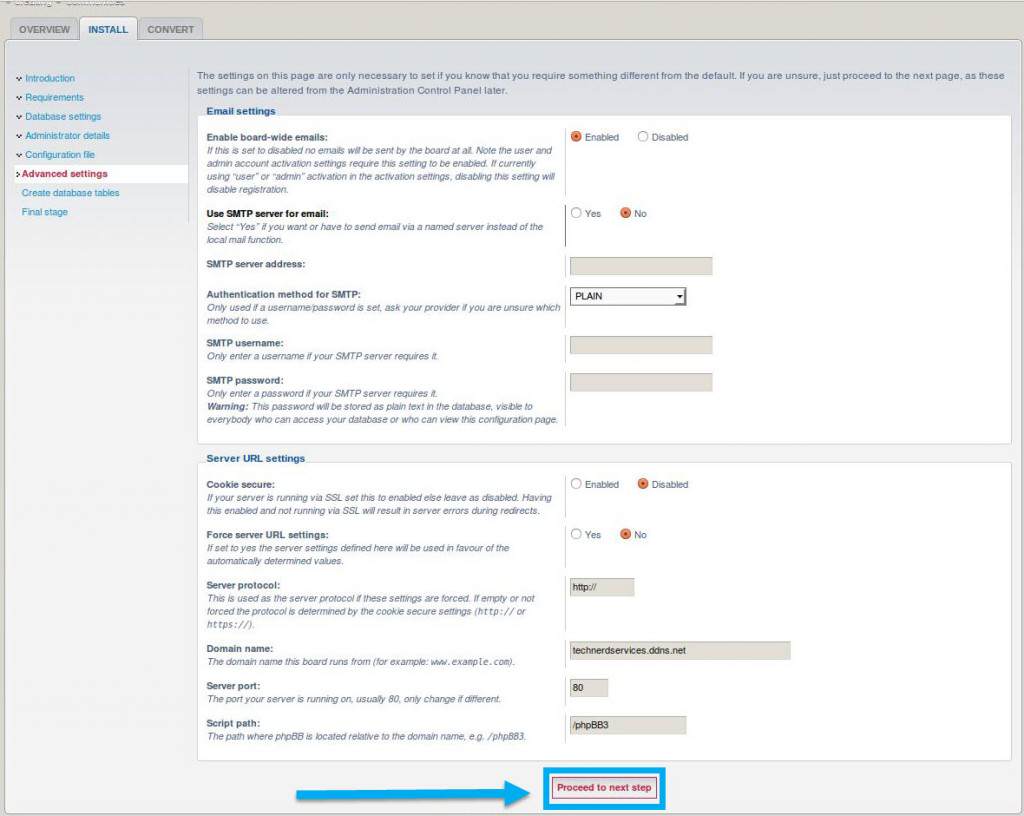
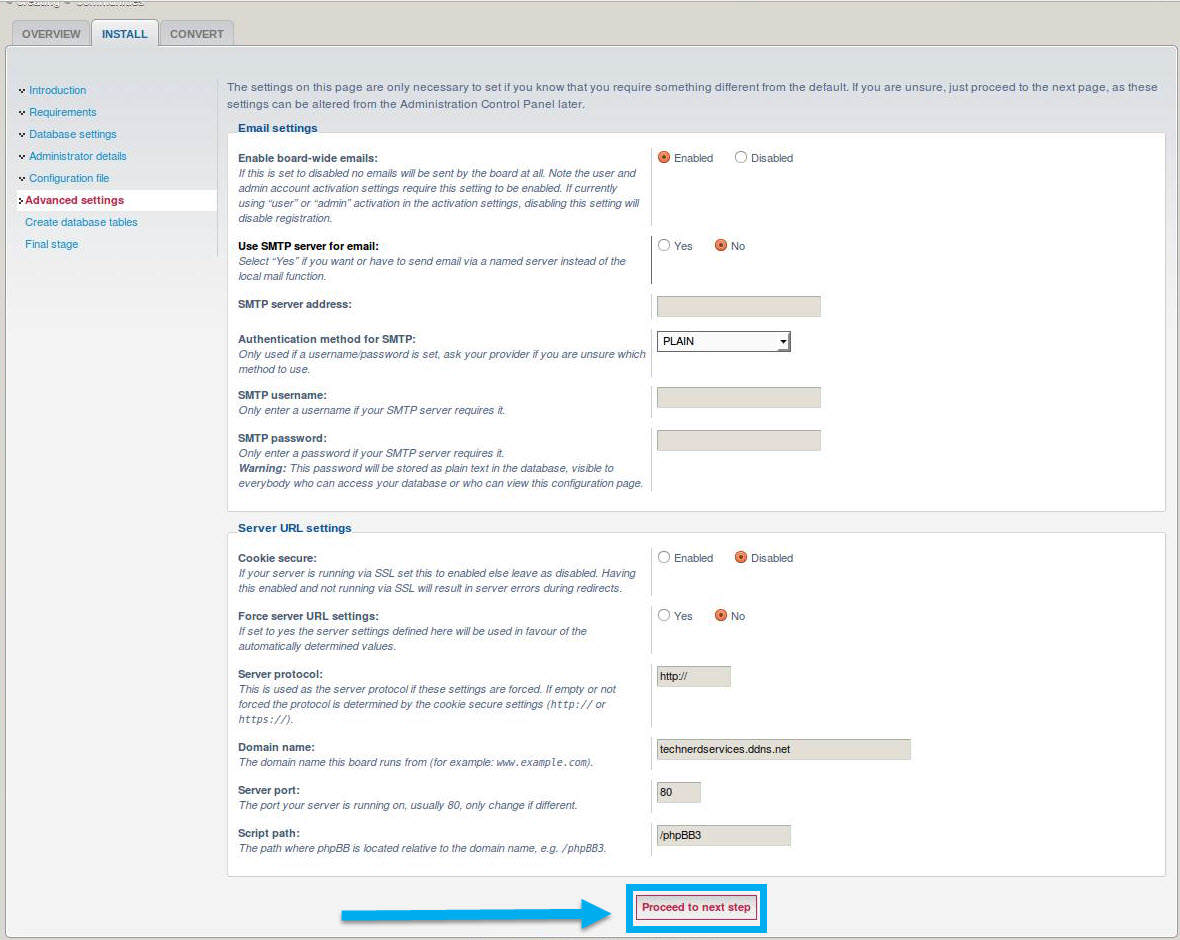
- phpBB email settings must be setup. Enter the email SMTP settings and then click the “Proceed to next step” button when complete.
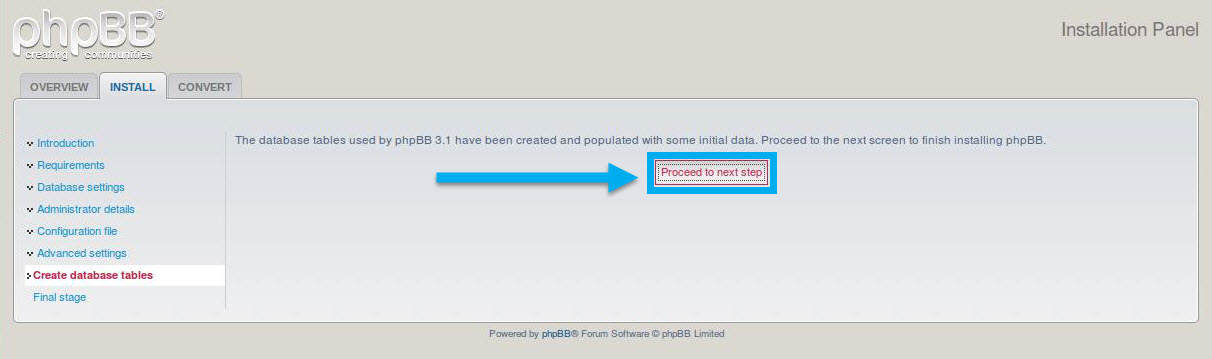
- The next page will confirm that the database is created. Simply click on the “Proceed to next step” button.

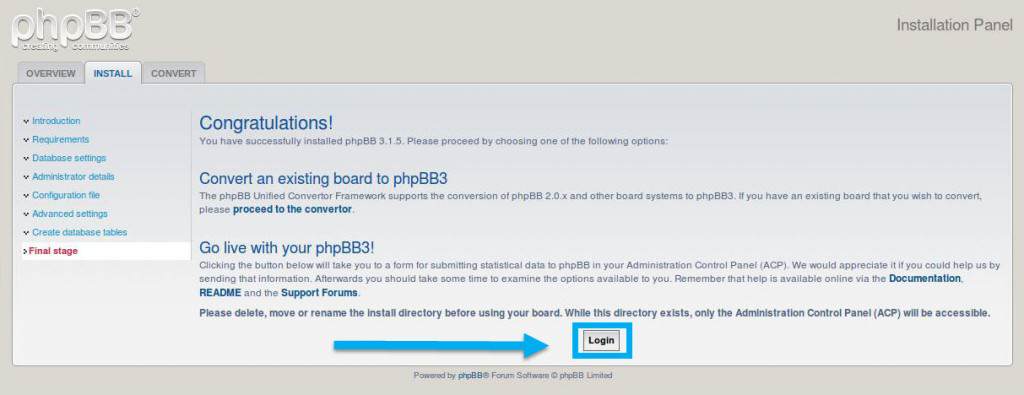
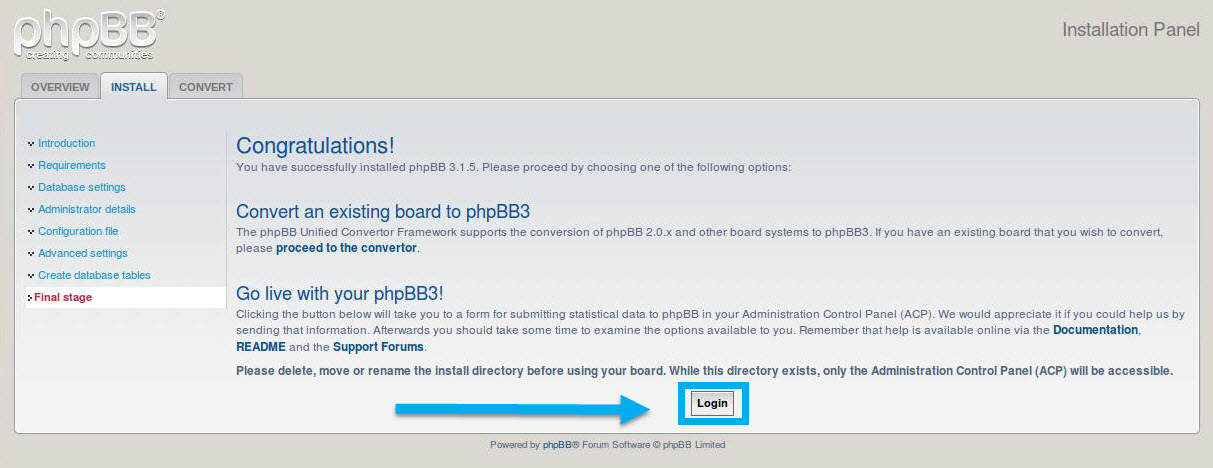
- If there are no errors, a confirmation page will appear. Click on the “Login” button at the bottom of the page to enter phpBB.
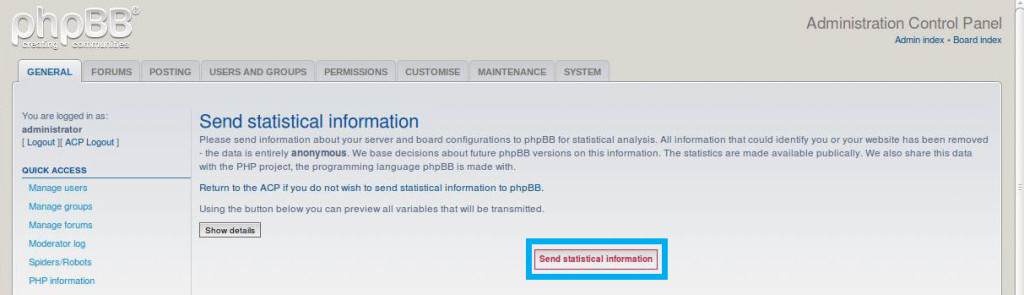
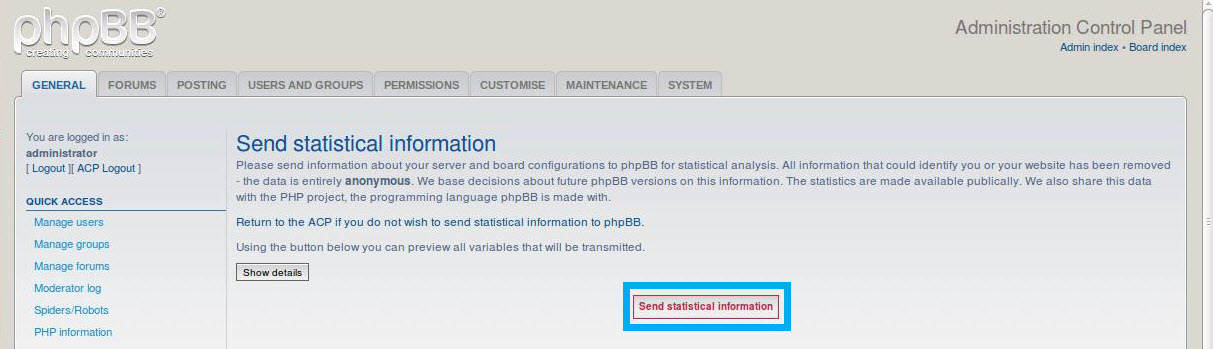
- OPTIONAL: The next screen will request to send statistical data. This step is optional. If you choose to send data to help improve the product, click on the “Send statistical information” button. Else skip this step.
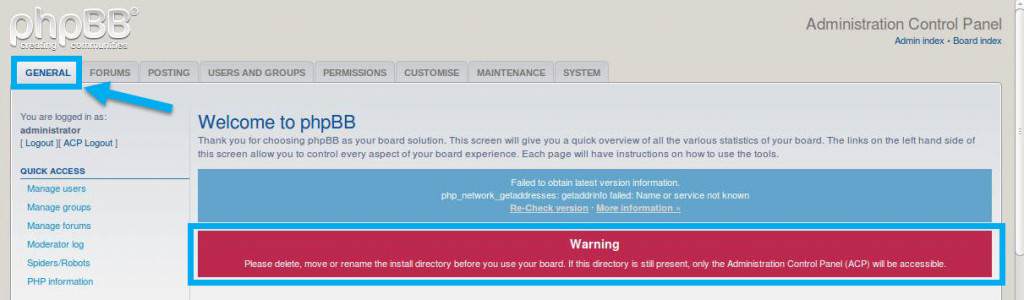
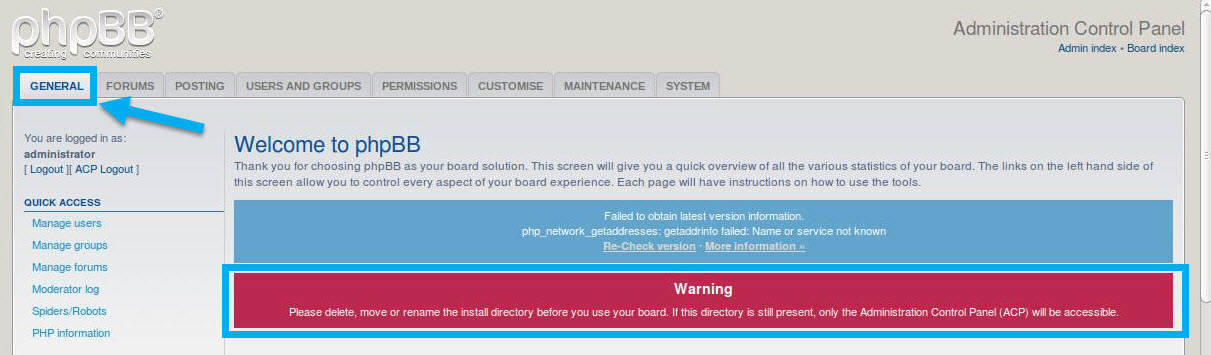
- Click on the “General” tab to go to the settings. A big red “Warning” banner will appear providing instructions to remove the installation files.
- In Terminal, type the following command to remove the folders identified by the warning.
sudo rm -rf /var/www/html/phpBB3/install
- Restart the Apache web server.
sudo service apache2 restart


Congratulations, you have successfully installed phpBB 3!
Closing Words
Whether it is to brainstorm business proposals or arrange family gatherings, phpBB provides an easily accessible platform to promote discussion. With its many extensions and apps, phpBB can be tailored to your home or business needs.
Support Us!
Thank you for reading this article. If you found it useful, please consider buying us a coffee, subscribing to the YouTube Channel, and/or changing your Amazon bookmark to our affiliate link (CAN, USA, UK). We do this out of general interests and to help others. Thanks!


Leave a Reply