


Wallabag is a free and open source webpage saving application used to store webpages for future reading or referencing. Wallabag saves the text and images from a webpage and reconstructs the page within the application for an easy to read interface. It even predicts how long it will take to read the article! Read on to learn how to install Wallabag on an Ubuntu 14.04 desktop server.
Prerequisites
This tutorial assumes that you already have an Ubuntu Desktop computer setup with a web address (dynamic or static dns). Use the following tutorials to setup a computer with these requirements.
- Creating a Home Server Part 1: Why Should I? Hardware and Software
- Creating a Home Server Part 2: Installing the Operating System
- Creating a Home Server Part 3: How to Install No-IP Client in Ubuntu
Acknowledgments
Much of this tutorial is information found from Wallabag’s documentation pages.
Video Tutorial
Written Tutorial
If you have already installed a LAMP server, skip to installing Wallabag.
Installing a LAMP Web Server
LAMP stands for Linux Apache MySQL Php/Python/Perl, which are the components of creating a web server. Previously, the acronym was used to remember which packages to install, but now we can install them all in one step.
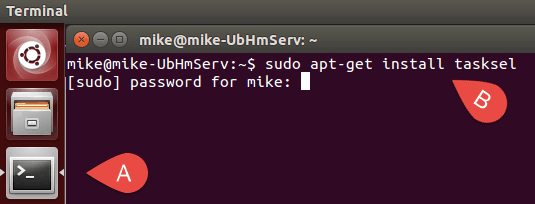
- Open Terminal (A) and type the command to install “Task Select” (B). You will need to enter your password.
sudo apt-get install tasksel
- Once the install is complete, run Task Select.
sudo tasksel

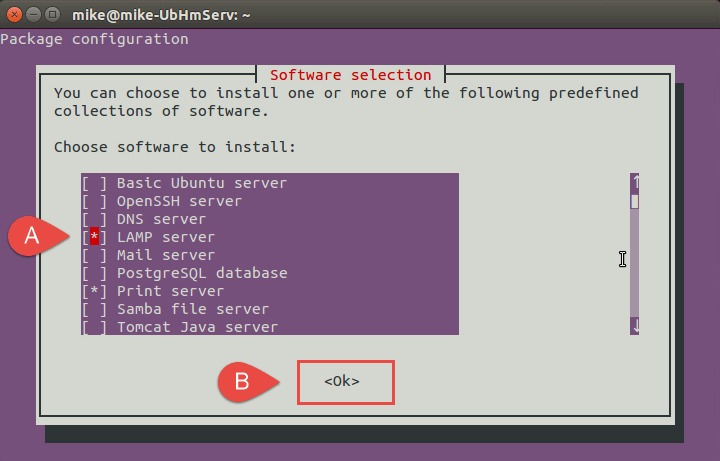
- Use the arrow keys to navigate to “LAMP server” using the keyboard arrow keys, press the “Space bar” to select the option (A), then press the “Enter” key to confirm (B)
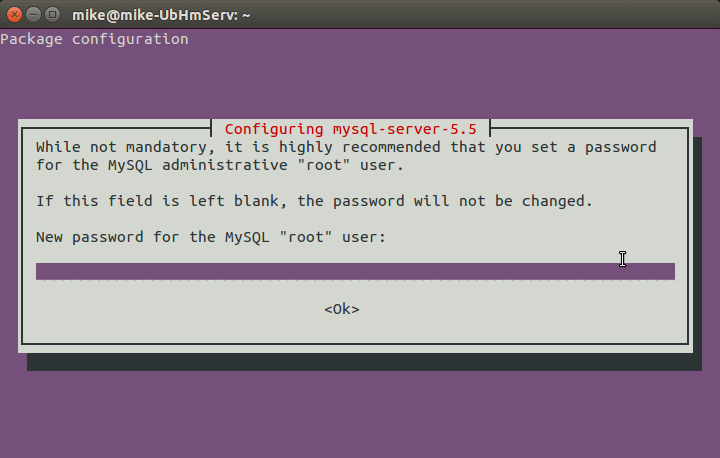
- The install will ask for a password for the “root” use of MySQL. Create and enter a password and confirm it on the next screen.
- When the installation is complete, the LAMP Web Server will be setup and running.
Install Wallabag
Install PHP Extensions
- Wallabag requires additional PHP extensions in order to function correctly. In terminal, enter the following command to install these extensions:
php5-fpm php5-cli php5-mysql php5-mcrypt php5-tidy php5-curl php5-sqlite php5-gd
- Restart the web server
sudo service apache2 restart
- asdf
Download Files to Web Server
- In terminal, download the Wallabag zip folder to the home directory.
wget http://wllbg.org/latest
- Unzip the folder. It will extract into a folder with the version number.
unzip latest
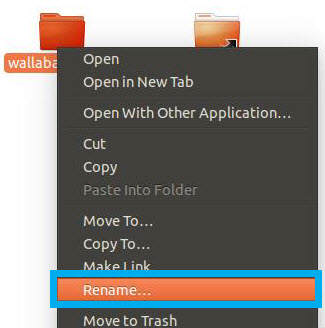
- In the Nautilus file manager, rename the folder to “wallabag”.
- Move the wallabag folder to the web server.
sudo mv wallabag /var/www/html/
Download Twig framework files to the Web Server
Twig is a template library that Wallabag requires to function.
- Download the compressed vendor file.
wget http://static.wallabag.org/files/vendor.zip
- Extract the vendor folder.
unzip vendor.zip
- Move the vendor folder into the “wallabag” folder on the web server.
sudo mv vendor /var/www/html/wallabag
Set Permissions
Using the following command, change the permissions of the wallabag folder so that the web server has access to the files:
sudo chown -R www-data:www-data /var/www/html/wallabag
Create MySQL Database Tables and Users
- In Terminal, access the MySQL shell.
mysql -u root -p
NOTE: Enter the password that was created during the Installing a LAMP web server section.
- Create the database “wallabag”
CREATE DATABASE wallabag;
NOTE: For additional security, consider using a different name that “wallabag.”
- Create the user “wallabag” and give it permissions for the “wallabag” table and a password.
NOTE: For added security, change the password “YOUR_PASSWORD” to something else.GRANT ALL PRIVILEGES ON `wallabag`.* TO 'wallabag'@'localhost' IDENTIFIED BY 'YOUR_PASSWORD';
- Exit MySQL.
Complete Wallabag Installation in a Web Browser
- In a web browser, navigate to the server’s public web address and add the “/wallabag” fragment on the end of the web address (i.e. http://technerdservices.ddns.net/wallabag). If all the previous examples are completed correctly, both the “Server Compatibility Test” and the “TWIG Installation” should appear as bellow:
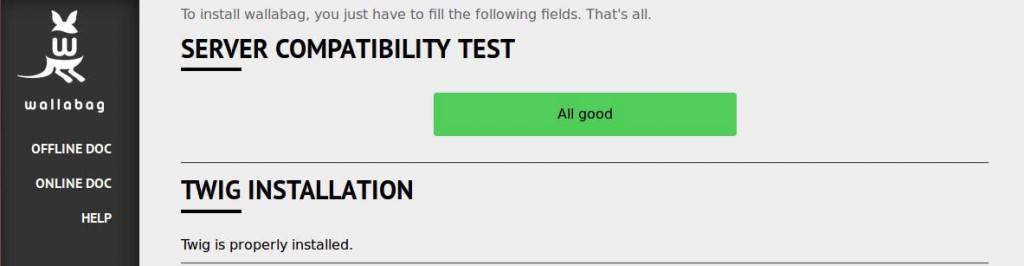 NOTE: If there are errors, go back and ensure that the TWIG installation is properly moved and that the PHP extensions were installed. Also, try restarting the web server.
 - Scroll down to the “Database Settings” and select “MySQL.” Then fill in the fields. Type “localhost” for the server and then the database, user and password created in the MySQL Database section.
 NOTE: Do not click on “Use UTF-8 MB4.” As of writing this article, Ubuntu still uses MySQL 5.4 which is not compatible with this option.
 - Create the first user and password. The email address is optional. Then click on “Install wallabag”

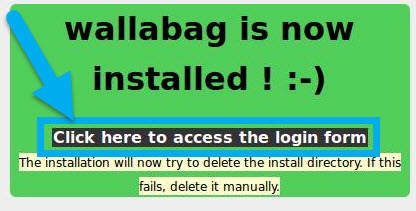
- A green box will appear confirming Wallabag’s successful installation. Click on the link in the center of the box to access Wallabag.
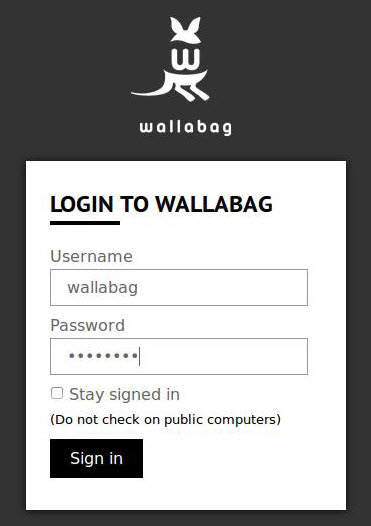
- Enter your username and password. Then click the “Sign in” button.

Congratulations! You have installed Wallabag on Ubuntu 14.04!
Closing Thoughts
Wallabag is a great tool for storing important information. With the internet constantly changing, important information appears and disappears from the internet regularly. Wallabag add the additional layer of security that what you find on the internet will still be there when you need it.
Support Us!
Thank you for reading this article. If you found it useful, please consider buying us a coffee, subscribing to the YouTube Channel, and/or changing your Amazon bookmark to our affiliate link (CAN, USA, UK). We do this out of general interests and to help others. Thanks!


Leave a Reply