


Contents
Install Required LAMP Server Extensions
Install PHP Curl
- Open Terminal and type in the following command to install the php curl extension.
sudo apt-get install php5-curl
Enable the rewrite extension
- In Terminal, type the following command to enable the rewrite extension of the Apache web server.
sudo a2enmod rewrite
- Open the configuration file of the default website.
sudo nano /etc/apache2/sites-available/000-default.conf
- Add the following directory settings below the “DocumentRoot” line within the file.
<Directory /var/www/html/>
     AllowOverride All
</Directory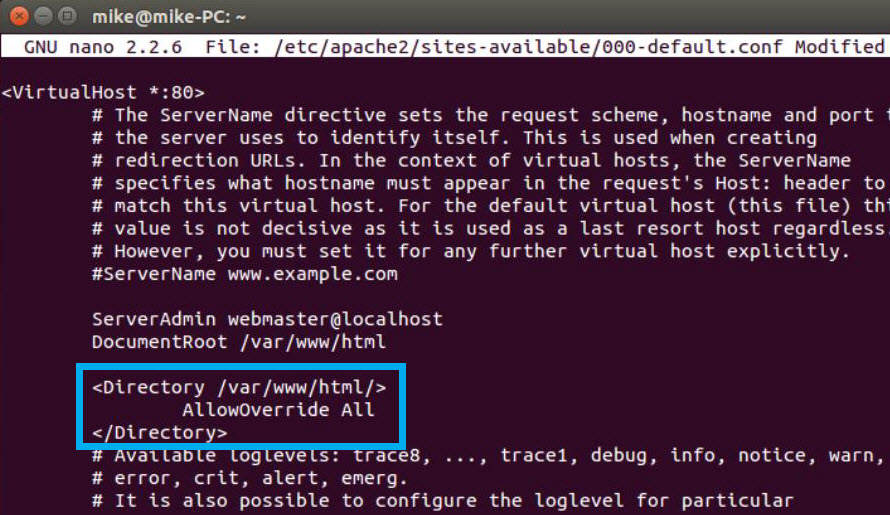
- Save change using “Ctrl+O” on the keyboard.
- Exit the text editor with “Ctrl+X”
- Restart the Apache web server for all the changes to take effect.
sudo service apache2 restart
Create a MySQL Database
- In Terminal, log into the MySQL shell with the following command. Use the password created when installing the LAMP server.
mysql -u root -p
- Create the database ‘easyappointments’ or a name of your choosing. It will be successfully created if “Query OK” appear immediately after pressing the “Enter” key.
create database easyappointments;
NOTE: Do not forget the semi-colon at the end of the line. If you do, simply type the semi-colon and press the “Enter” key.
- Exit the MySQL shell with the following command.
exit
Support Us!
Thank you for reading this article. If you found it useful, please consider buying us a coffee, subscribing to the YouTube Channel, and/or changing your Amazon bookmark to our affiliate link (CAN, USA, UK). We do this out of general interests and to help others. Thanks!


Leave a Reply