LibrePlan is an opensource project management web application that provides small to medium sized businesses (or even families) tools to manage projects from planning to closure. It provides times, gantt charts, reports, resource management and much more. Learn how to install LibrePlan on an Ubuntu 14.04 desktop server.
Contents
Video Tutorial
Written Tutorial
Prerequisites
This tutorial assumes that an Ubuntu 14.04 desktop operating system is already setup. The following links included tutorials to install Ubuntu 14.04 on a computer and create a public web address using No-IP.
Install LibrePlan
These instructions use the simplest method for installing LibrePlan on an Ubuntu desktop computer. To increase security, use the manual installation instructions found on LibrePlan’s documents (link).
- In the Ubuntu, open a web browser and navigate to http://www.libreplan.com
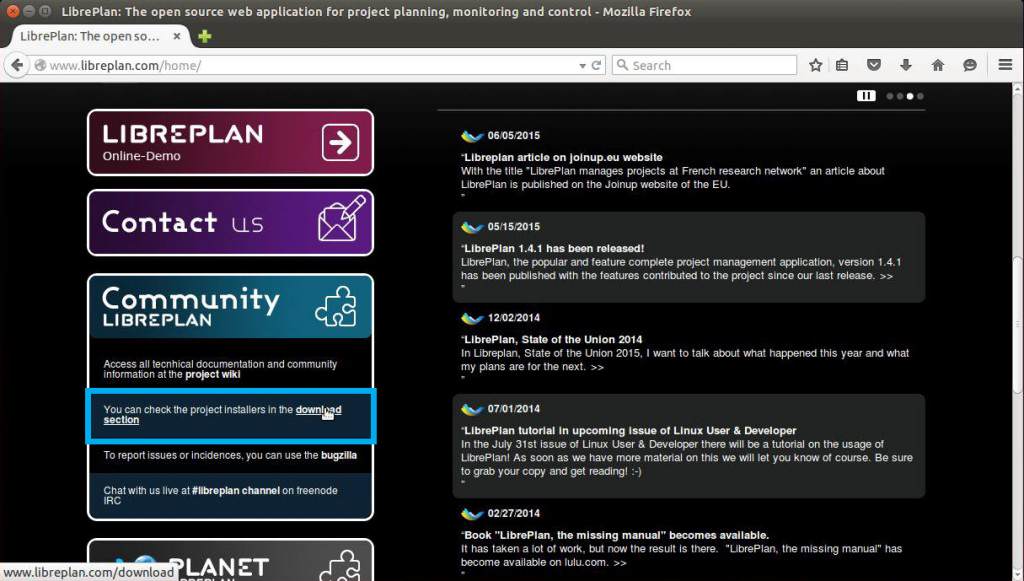
- Scroll down to the “Community Libreplan” sidebar box and click on the “download section” link.
- Copy the first line of code below the “Ubuntu PPAs” section.
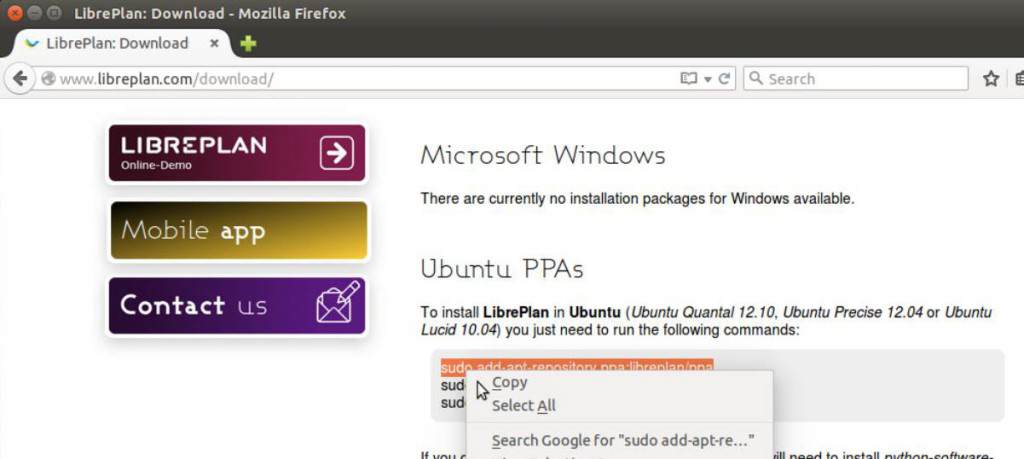
- Open Terminal and paste the line of code in the prompt. Terminal may prompt for an administrator password when the code is run.
sudo add-apt-repository ppa:libreplan/ppa
- Update the Ubuntu repositories by copying and pasting the next line of code on the website (or below).
sudo apt-get update
- Finally, install LibrePlan with the final line of code on the webpage (or below).
sudo apt-get install libreplan
NOTE: During the installation process, the database will request configuration.
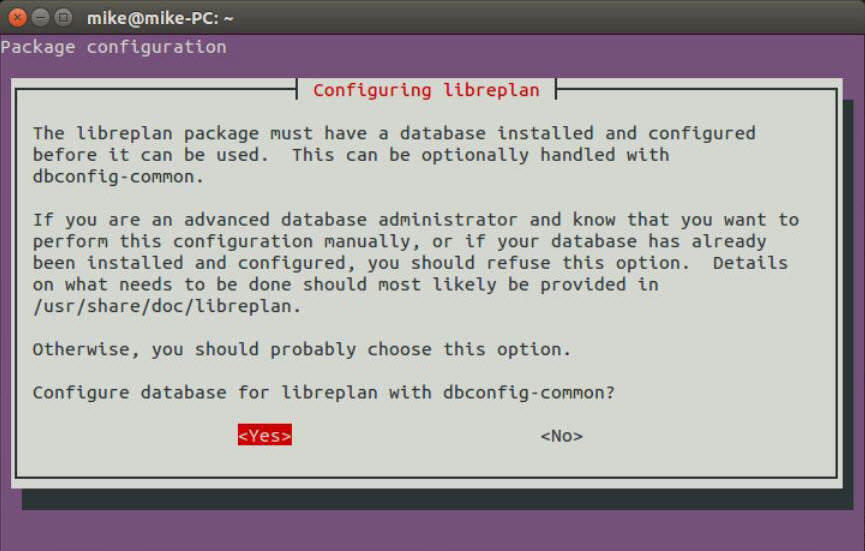
After, the database will request a password for the libreplan user, which will then need to be confirmed.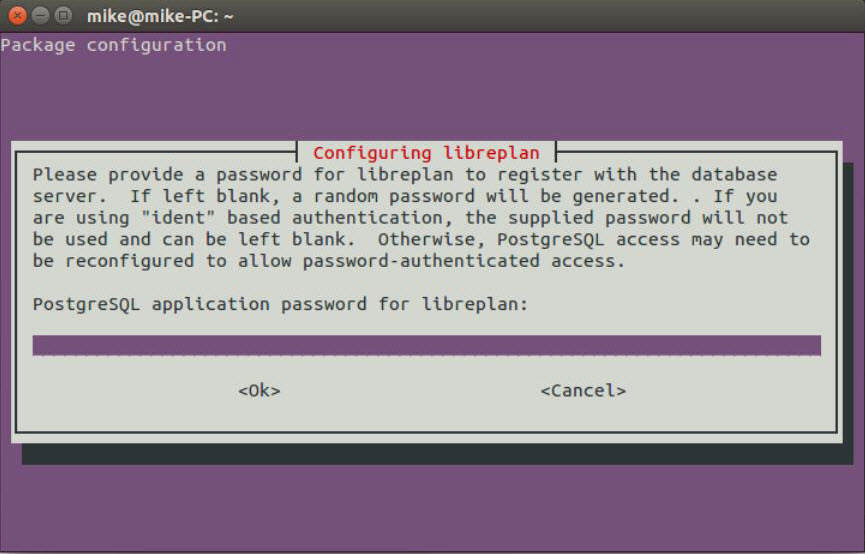
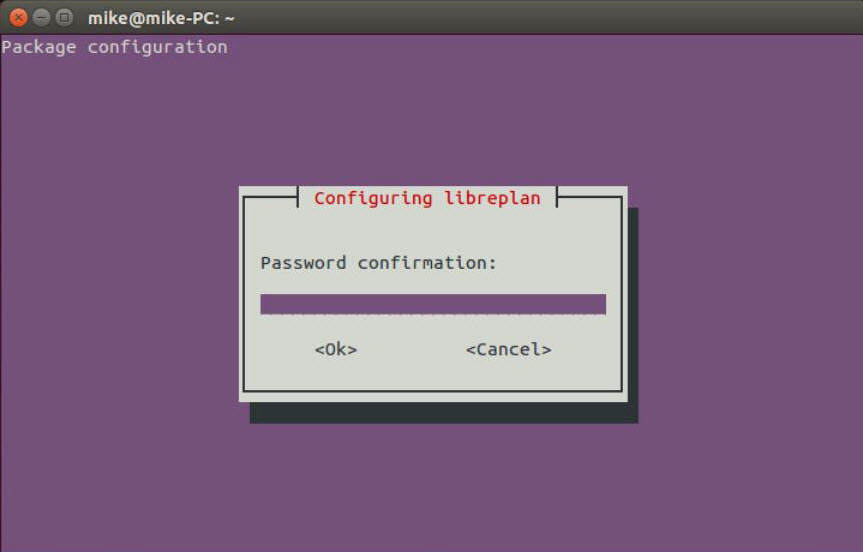
Congratulations! You have successfully installed LibrePlan on the computer.
Complete installation in web browser
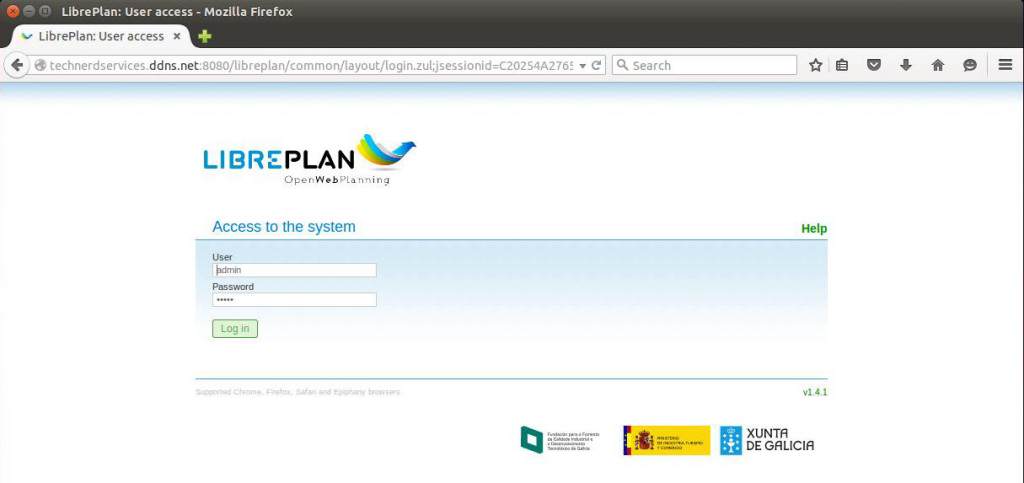
- Navigate to the web address of the Ubuntu server. Be sure to append port 8080 and the sub-directory libreplan (i.e. technerdservices.ddns.net:8080/libreplan).
- The login page will have the default administrator account auto-filled. (If the fields are empty, type in “admin” (no quotations) in both the username and password). Simply click the login button.
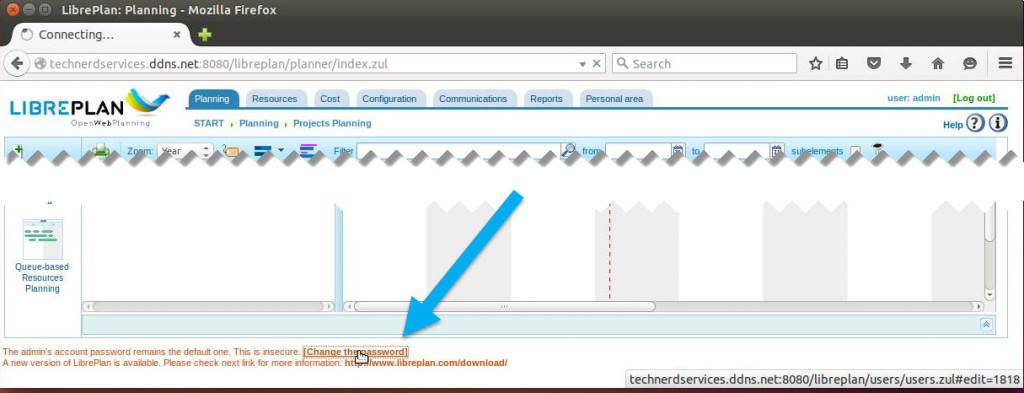
- In the home page, change the default password of the admin account by clicking on the link at the bottom of the page.
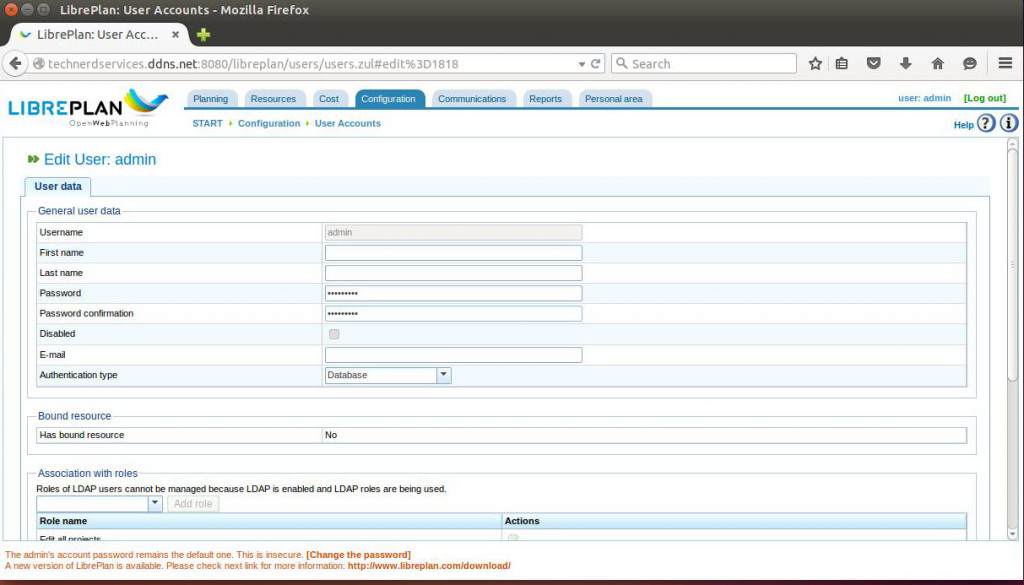
- In the user account preference, add and confirm a password. (Optional, fill out remaining fields in the user account). Click on the “Save” button on the bottom of the page when complete.
Change default port for Tomcat web server (OPTIONAL)
If LibrePlan is the only web application on the Ubuntu Server, the default port of the Tomcat web server can be changed to port 80, the default web server port.
- In Terminal, open the Tomcat server configuration file.
sudo nano /etc/tomcat6/server.xml
- Scroll down to a “Connection” tag with port:8080 and change the port to port:80.
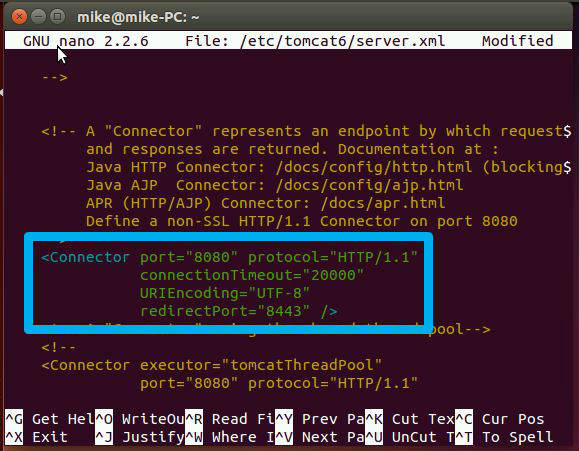
- Use the keyboard shortcut Ctrl+O to save and Ctrl + X to exit.
- If you are using a port less than 1023 (such as port 80), open the tomcat defaults file.
sudo nano /etc/default/tomcat6
- Scroll down the file until you fine “#authbind=no”
- Remove the “#” and change “no” into “yes”
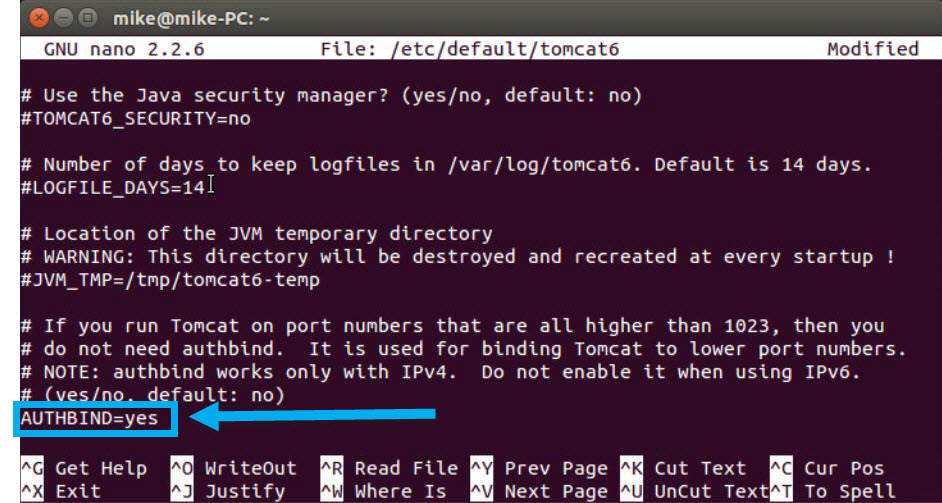
- Once complete, save and exit the text editor using “Ctrl + O” and “Ctrl + X” respectively.
- Restart the tomcat web server.
sudo service tomcat6 restart
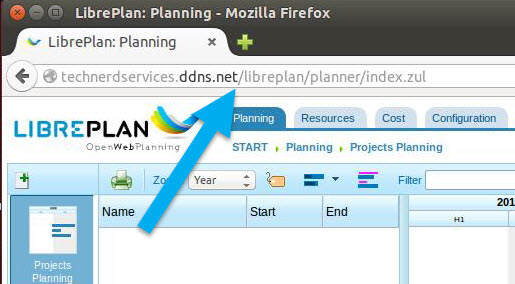
- Remove the port number from the URL of libreplan.
Final Thoughts
Open Source products like LibrePlan allow for small and medium size businesses to manage projects, personnel, and resources with minimal cost. Coupled with many office products that can replace commercial equivalents (such as LibreOffice versus Microsoft Office). Soon, many big name program companies will have to complete for the market share that was once a guarantee.
Support Us!
Thank you for reading this article. If you found it useful, please consider buying us a coffee, subscribing to the YouTube Channel, and/or changing your Amazon bookmark to our affiliate link (CAN, USA, UK). We do this out of general interests and to help others. Thanks!


Leave a Reply