


OnlyOffice is self-hosted or online document management, project management, customer relations management, and email management system. It includes online editors for Microsoft Word, Excel, and PowerPoint files and provides online collaboration tools similar to Google Drive. OnlyOffice provides both an open source and enterprise version which can be hosted on an internal network or provided on a subscription SaaS (Software as a Service). There is even a free, online version of OnlyOffice for personal use. Building a self-hosted OnlyOffice environment is a great way for small to large businesses to increase privacy and provide a single environment for many business processes. Check out OnlyOffice’s feature comparison and read on to learn how to install OnlyOffice on Ubuntu 14.04.
Contents
Video Tutorial
Features
OnlyOffice includes the following apps. A comprehensive list of features can be found here.
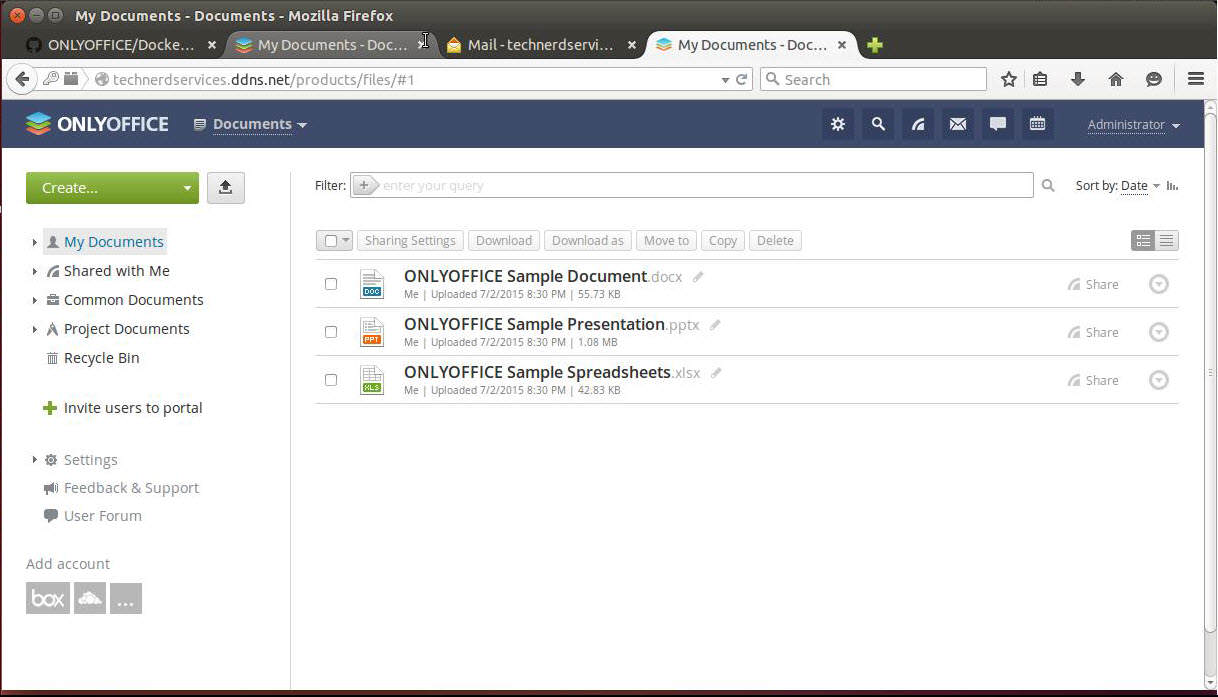
Document Management
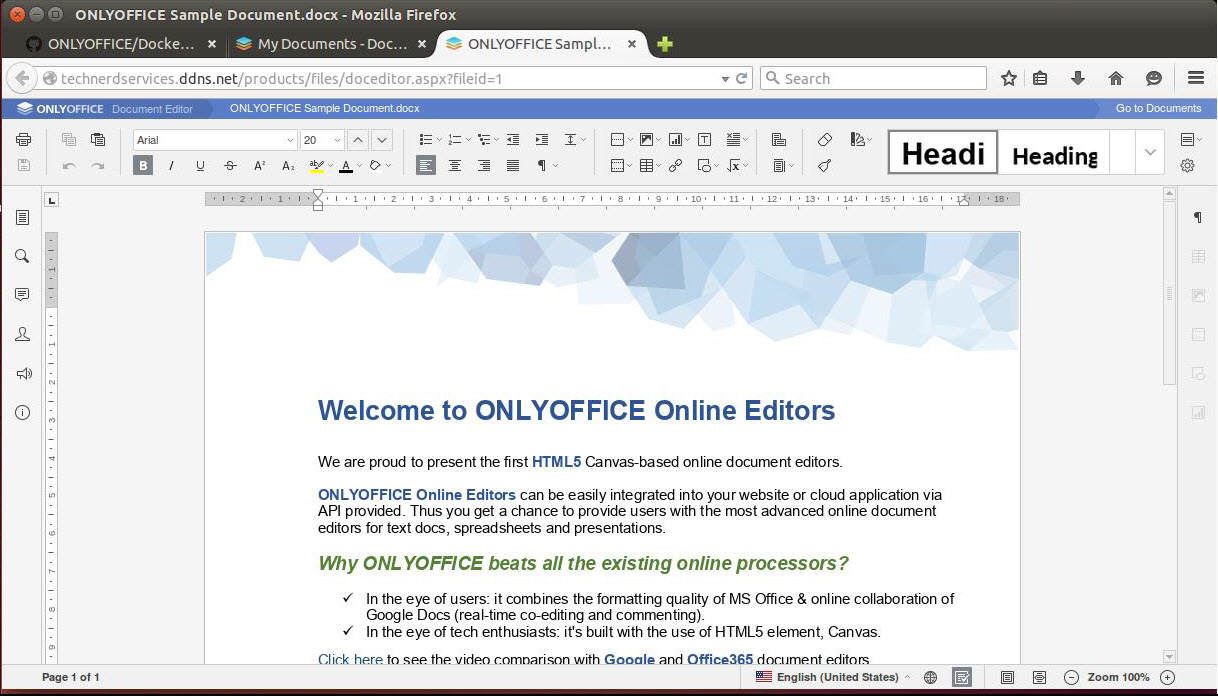
Online Document Editor
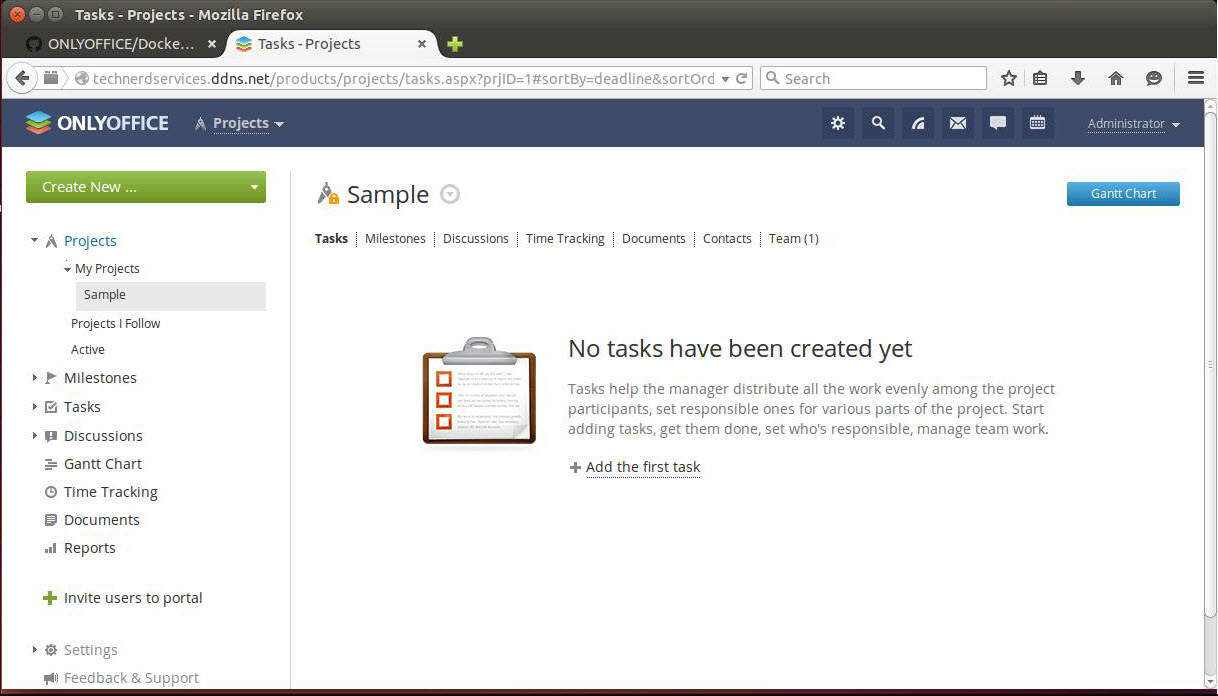
Project Management
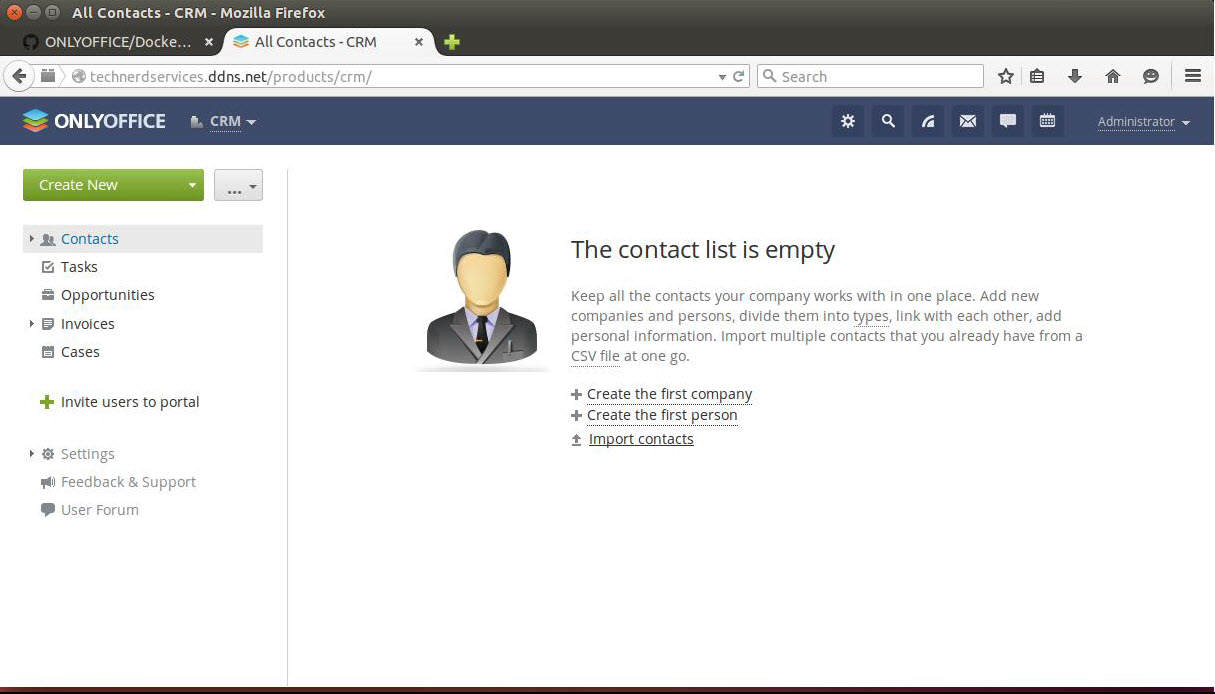
Customer Relations Management
Email Aggregator
Written Instructions
Updates
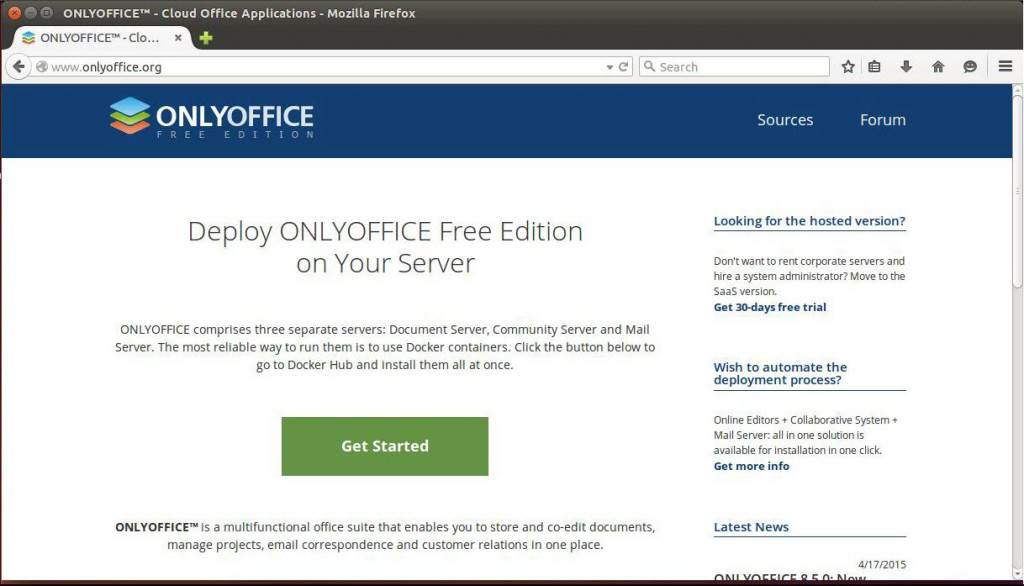
OnlyOffice now offers a public account. Head over to http://onlyoffice.org and click the “Get Started” button.
Prerequisites
The written instructions assumes the following hardware or software requirements are met:
- A computer or virtual machine running Ubuntu 14.04 Desktop (Server edition is acceptable).
- Ensure that the computer or virtual machine meets the minimum requirements. If the computer does not have enough resources, OnlyOffice will not function correctly.
- (OPTIONAL) A public web address with appropriate port-forwarding. An option is No-IP.
Install Docker
According to Docker’s website, “Docker is an open platform for developers and system administrators to build, ship and run distributed applications.” Therefore, install complex applications such as OnlyOffice is simplified by using Docker to manage containers containing the OnlyOffice components and their needed dependencies.
- In Terminal, install wget.
sudo apt-get install wget
- Then install Docker.
wget -qO- https://get.docker.com/ | sh

- If you are using Ubuntu Desktop, reboot the computer.
While the installation of Docker is complete, additional information regarding Docker can be found here.
Installation of OnlyOffice
- Open a web browser and navigate to onlyoffice.org. Click on the green “Get Started” button to see the latest instructions published by OnlyOffice.
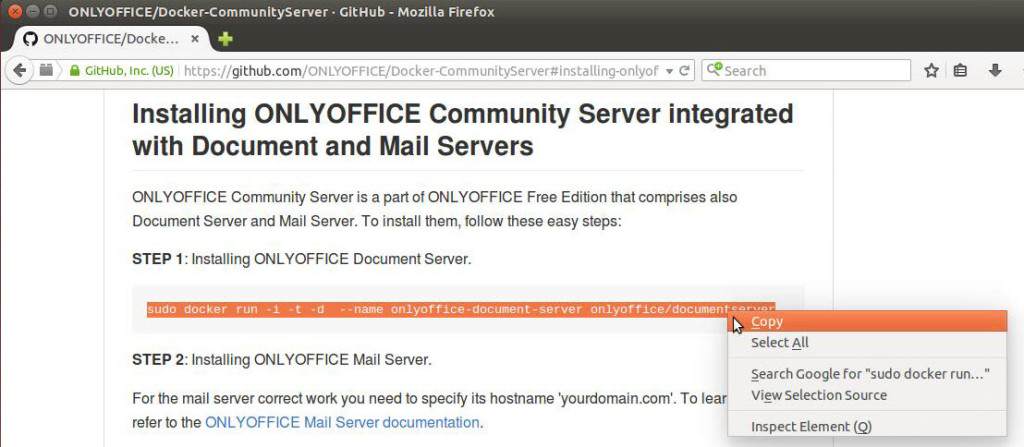
- Highlight and copy the first line of code to install the document server. (Code available below).
sudo docker run -i -t -d --name onlyoffice-document-server onlyoffice/documentserver
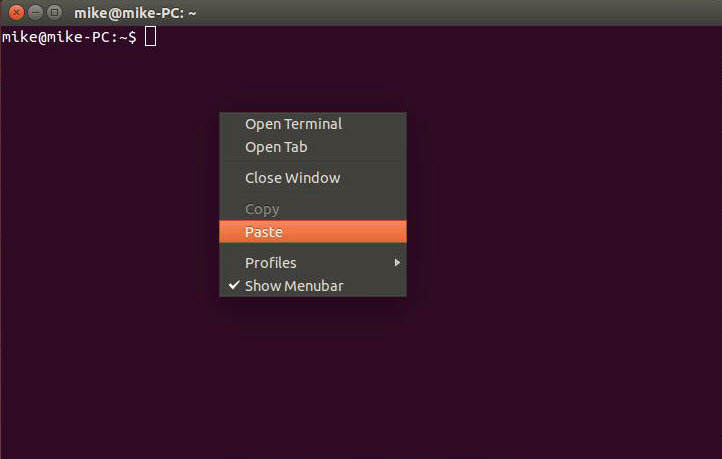
- In Terminal, paste and run the command.
 Docker will download the files from OnlyOffice and start the container.
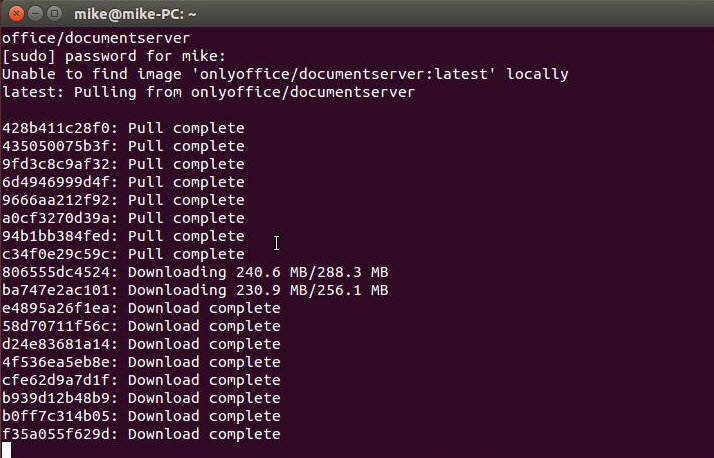
- Copy and paste the next line of code to install the mail server. DO NOT run the command until you have changed the email host (next step).
sudo docker run --privileged -i -t -d --name onlyoffice-mail-server -p 25:25 -p 143:143 -p 587:587 \
-h yourdomain.com onlyoffice/mailserver
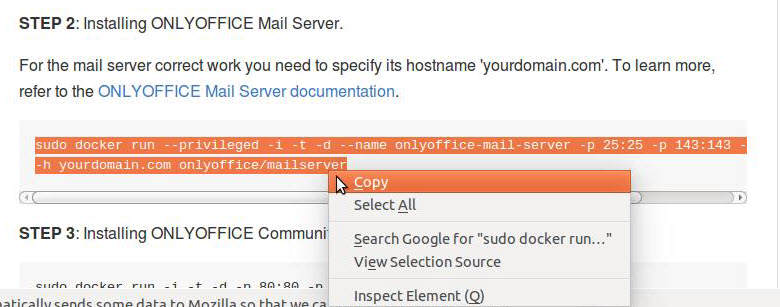
- On the second line, change “yourdomain.com” to your domain. Though not recommended, using a third party domain name provide such as No-IP is acceptable here. However, the confirmation email sent to new users will have the incorrect domain address. For the end-user, this can lead to confusion. The workaround is shown later in the instructions.

- Run the installation of the mail server.
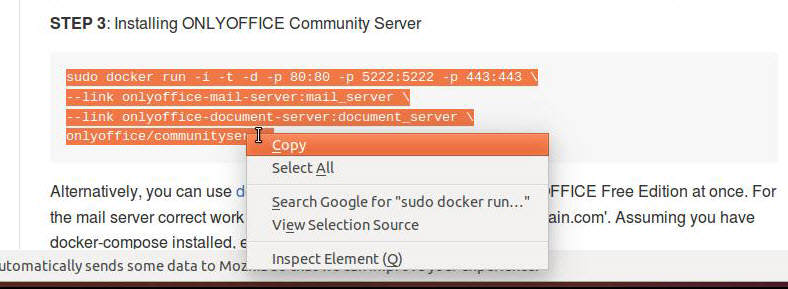
- Finally, copy, paste and run in terminal the final section of code for install the community server.


Complete Installation in Web Browser
- Open a web browser and navigate to the address of the installation. The first loading time will take longer than future loading time because the package Mono must build the OnlyOffice framework. Mono will need to build the framework every time the computer restarts.

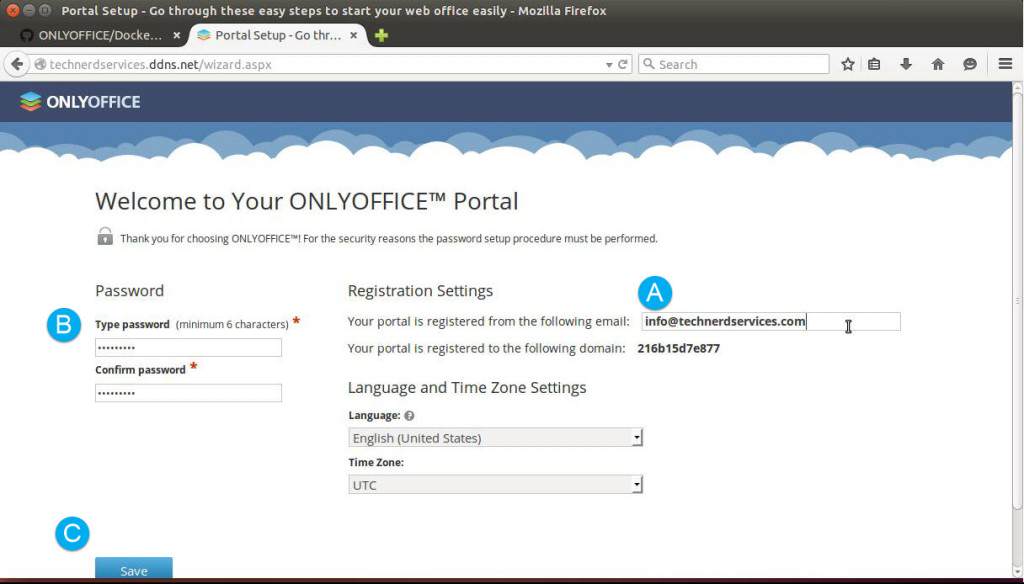
- Once the initialization is complete, enter an email address (A) and password (B) for the administrator account in OnlyOffice. Then click the “Save” button (C) to create the account.
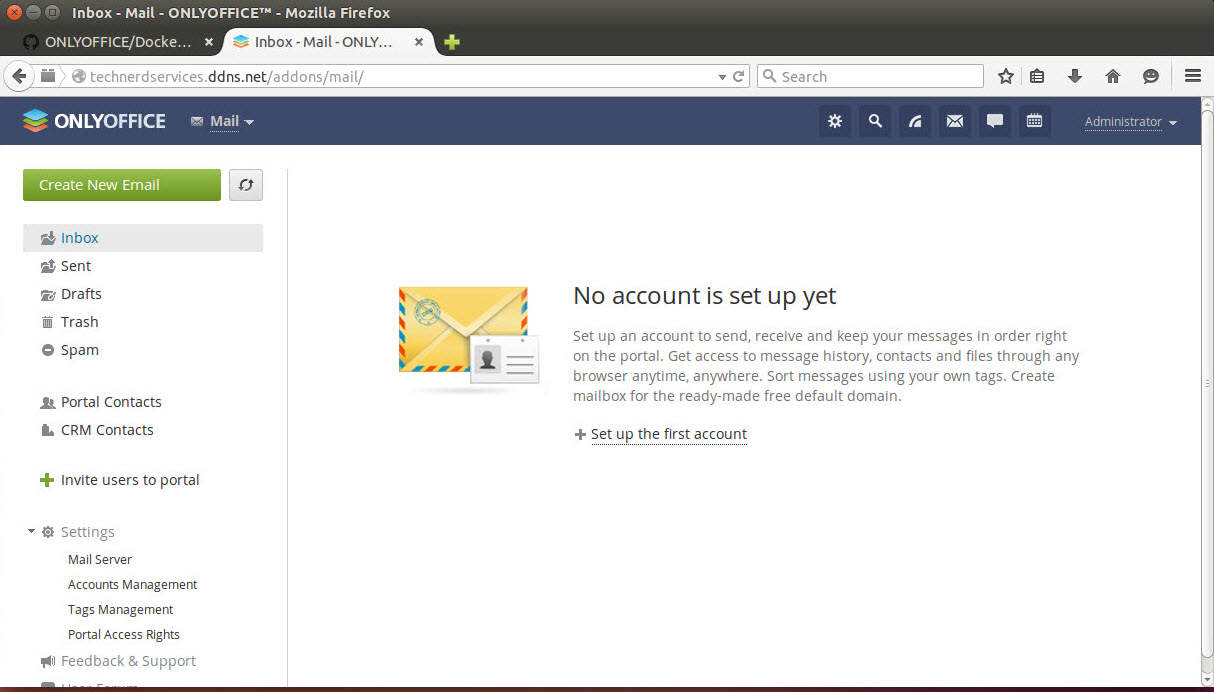
 Once you have created the Administrator account, you will be redirected to the home page.
 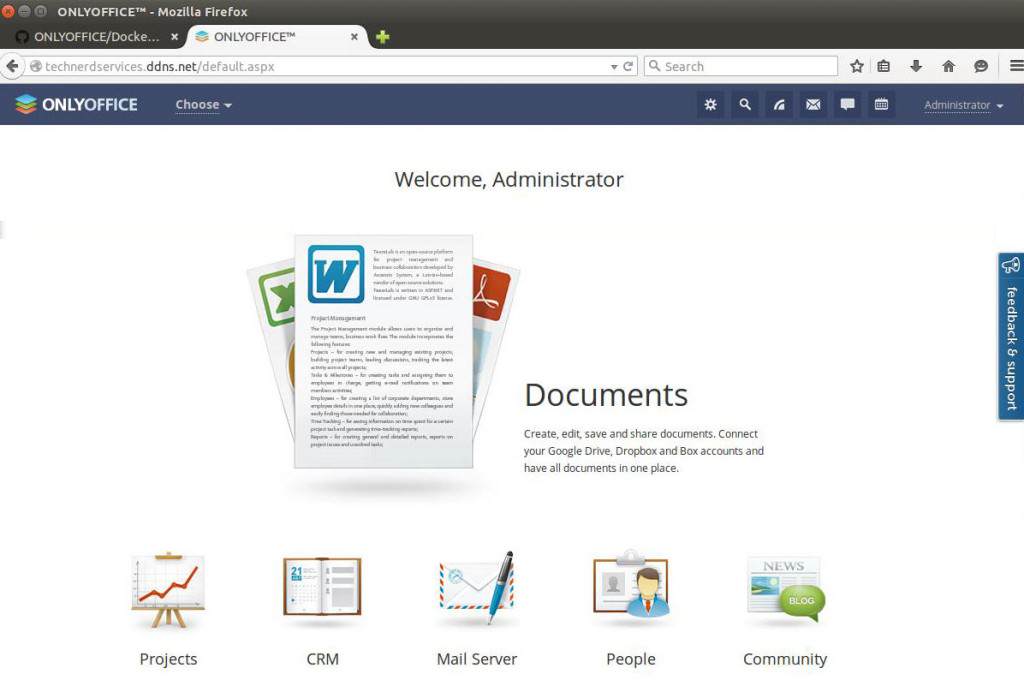 If the email confirmation is not complete, a yellow notification will appear at the top of each app and some functions will not work correctly until the email is confirmed.
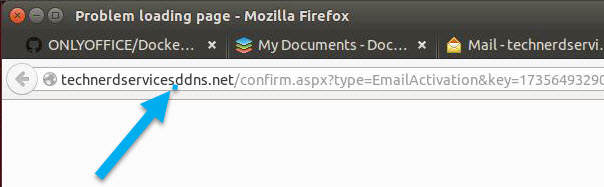
- Navigate to your email and confirm the account using the email sent by OnlyOffice. If you used a third party domain host, you will need to manually add a period to the URL as shown in the image below.
- Sign into OnlyOffice with your email and password.
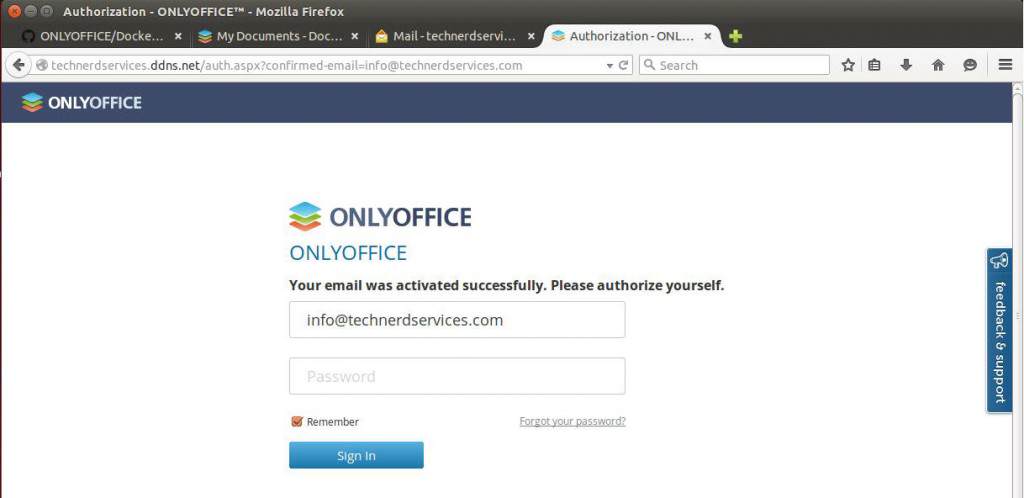
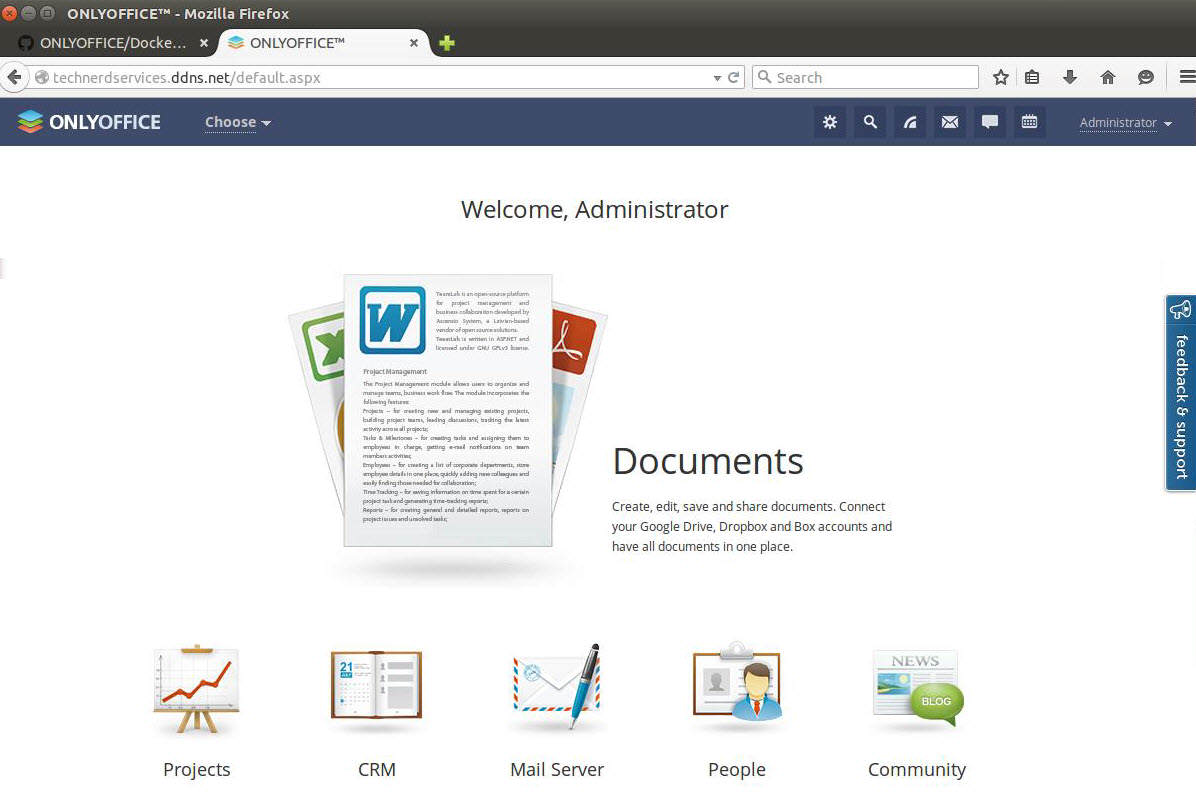
- You will have successfully installed and logged into your self-hosted OnlyOffice system.


Final Thoughts
OnlyOffice provides a comprehensive online environment for small and large businesses. It’s simplicity and ease of use allows employees to find and manage majority of their information from a single location. While feature rich, it is lacking features that could turn it into a full CMS (Content Management System) or ERP (Enterprise Resource Planning) system. One major omission is any means of financial management. However, other self-hosted or subscription services such as BeansBooks or FreshBooks can provide those additional functions. Regardless, OnlyOffice’s online document editors alone make it a worthy system to implement in a business. It can reduce costs by replacing costly Microsoft products or Google Apps subscriptions while providing similar functionality from their products. OnlyOffice may truly be the only office needed for many individuals and businesses.
Support Us!
Thank you for reading this article. If you found it useful, please consider buying us a coffee, subscribing to the YouTube Channel, and/or changing your Amazon bookmark to our affiliate link (CAN, USA, UK). We do this out of general interests and to help others. Thanks!


August 19, 2015 at 10:25 PM
I have installed OnlyOffice on my server. Installation went very well but i cannot receive confirmation email in my account…, Is this a bug or what??
anyone having knowledge about this problem??
August 21, 2015 at 11:06 AM
Hi Hanzala, If you followed all the instructions, I would double check that the ports are open and that your ISP allows outgoing traffic on the default smtp port (port 25). Some ISPs block these ports for home/personal accounts to encourage the purchase of a business subscription.