


WordPress is the most popular website builder on the internet. It has thousands of plugins and themes that allows making dynamic and professional websites simpler. Many functions do not need any familiarity with HTML, CSS, or Javascript to produces these sites. Find out how to install WordPress on an Ubuntu computer.
Contents
Prerequisites
This tutorial assumes that you already have an Ubuntu Desktop computer setup with a web address (dynamic or static dns). Use the following tutorials to setup a computer with these requirements.
- Creating a Home Server Part 1: Why Should I? Hardware and Software
- Creating a Home Server Part 2: Installing the Operating System
- Creating a Home Server Part 3: How to Install No-IP Client in Ubuntu
Video Tutorial
Written Instructions
If you already installed ownCloud using our tutorial, you already have a LAMP server installed. Skip to Installing WordPress
Installing a LAMP Web Server
LAMP stands for Linux Apache MySQL Php/Python/Perl, which are the components of creating a web server. Previously, the acronym was used to remember which packages to install, but now we can install them all in one step.
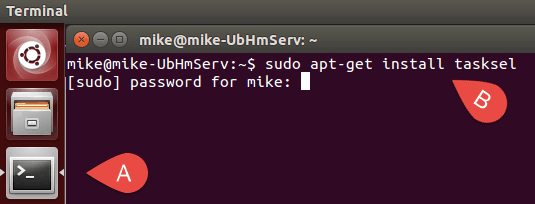
- Open Terminal (A) and type the command to install “Task Select” (B). You will need to enter your password.
sudo apt-get install tasksel
- Once the install is complete, run Task Select.
sudo tasksel

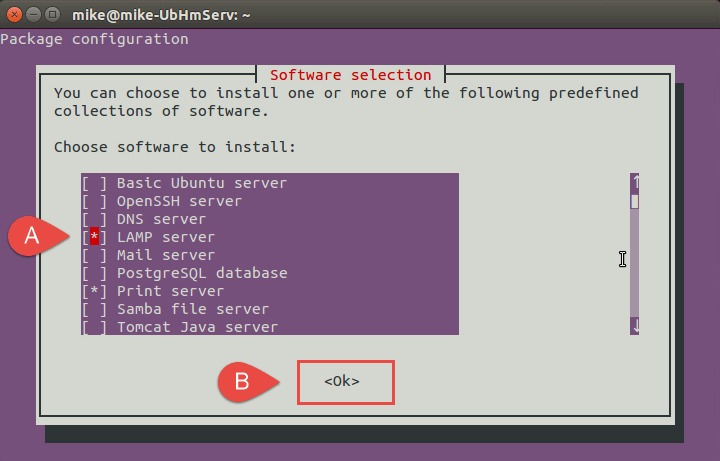
- Use the arrow keys to navigate to “LAMP server” using the keyboard arrow keys, press the “Space bar” to select the option (A), then press the “Enter” key to confirm (B)
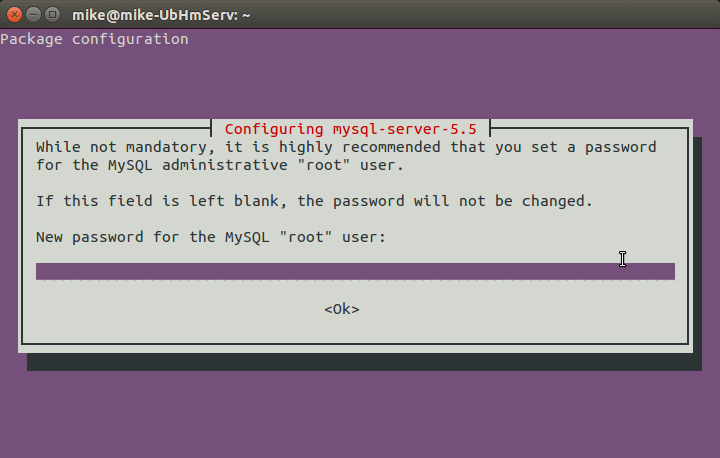
- The install will ask for a password for the “root” use of MySQL. Create and enter a password and confirm it on the next screen.
- When the installation is complete, the LAMP Web Server will be setup and running.
Installing WordPress
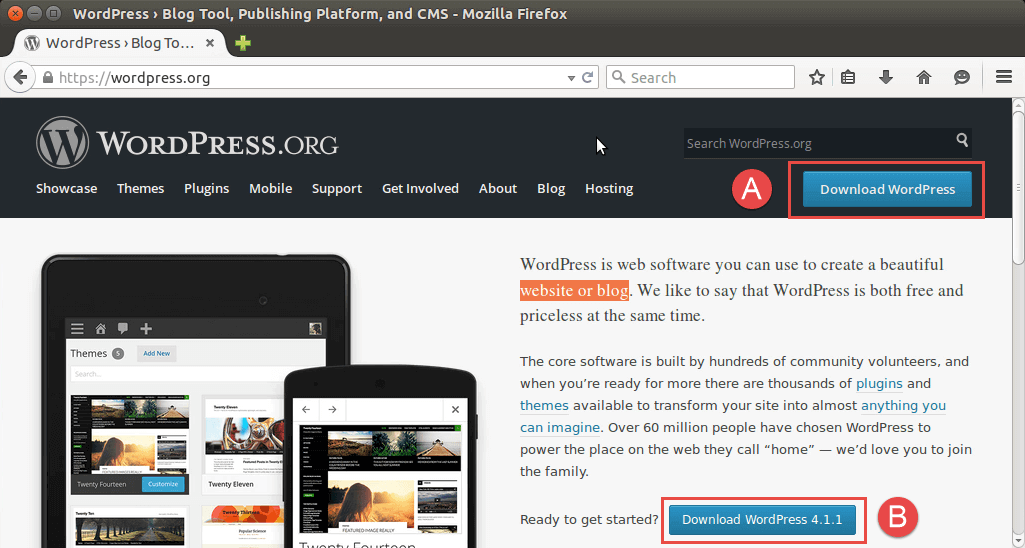
- Open a web browser and navigate to https://wordpress.org. Click on the “Download WordPress” button (A) and then the “Download WordPress 4.1.1” button (B).
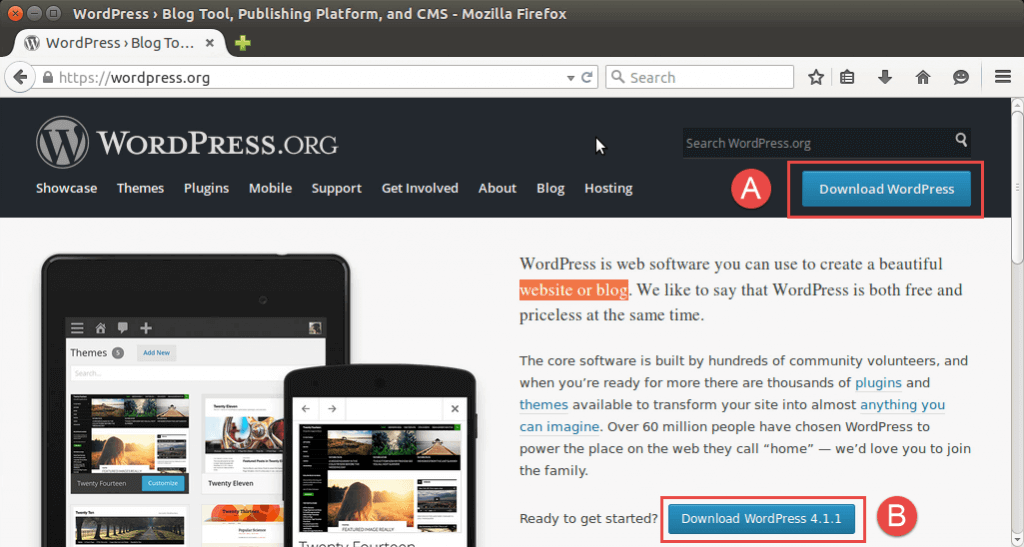 NOTE: The number after “Download WordPress” may be different because of updated versions.
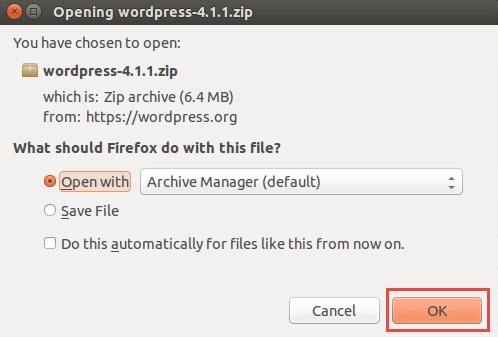
NOTE: This tutorial uses Firefox as the web browser. - Open the zip file in Archive Manager
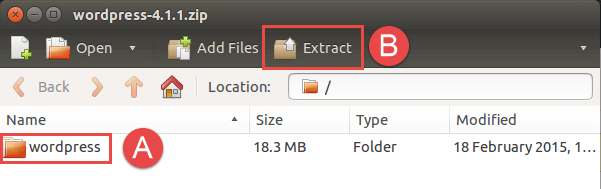
- Select the “wordpress” folder (A) and extract the folder (B).
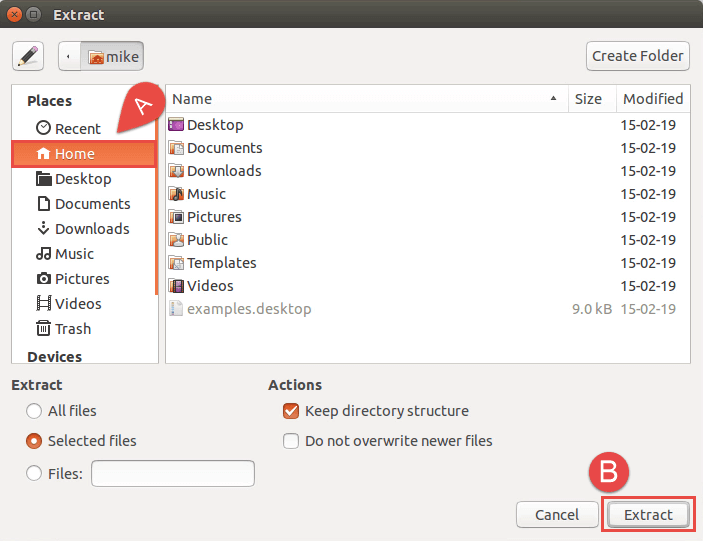
- Choose the “Home” folder (A) as the location to extract the folder and click the “Extract” button (B).
- Return to (or Open) Terminal. The following commands will first move the “wordpress” folder from the “Home” folder to the webserver location.
sudo mv wordpress /var/www/html/

- The next command will grant the web server ownership of the “wordpress” folder. This allows the web server to access the files
sudo chown www-data:www-data -R /var/www/html/wordpress

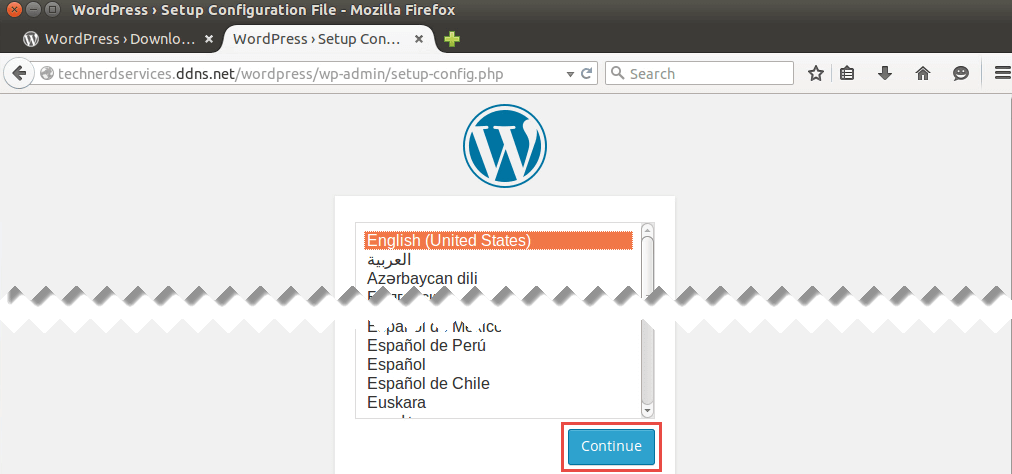
- In a web browser, navigate to the web address of your computer (click here if you missed the tutorial) but add “/wordpress” to the end of the address. (For example, http://technerdservices.ddns.net/wordpress).
- Select your preferred language and click the “Continue” button.
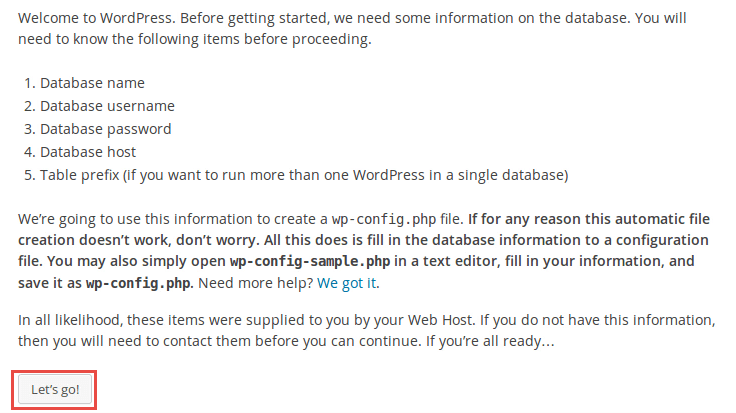
- The following screen will display needed database information. Click “Let’s go!”.
Create a Database in MySQL
- Return to (or Open) terminal and log into MySQL with the following command. You will need to enter the password created when installing the LAMP server.
mysql -u root -p

- Create the database named “wordpress” (A). Exit MySQL by entering the “exit” command (B).
create database wordpress;
exit

Finishing WordPress Installation
- Return the the WordPress installation webpage. Type in “root” (no quotation marks) for the username and the password created when installing the LAMP server (A) and click the “Submit” button (B). (None of the other fields require changing).

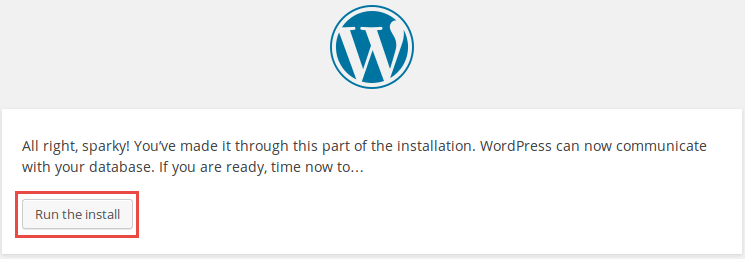
- Click on the “Run the Install” button.
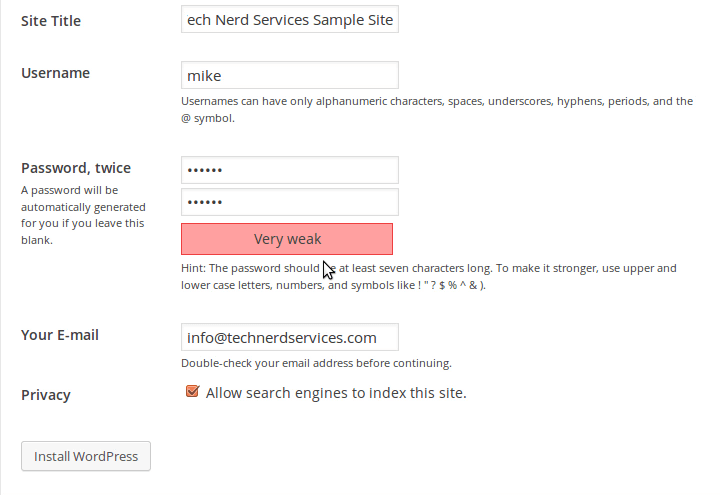
- Add in your site information and create the first user account of WordPress. Then click the “Install WordPress” button.
- The next screen will confirm the installation. Click on the “Login” button.

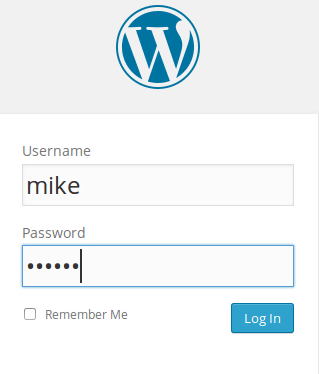
- Enter your login credentials.
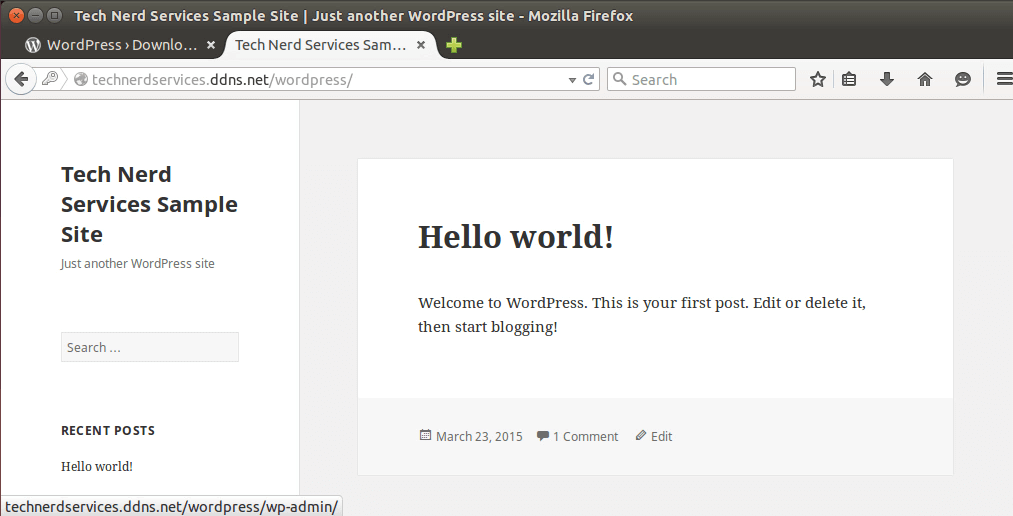
Congratulations! You have arrived at the WordPress site dashboard. Click on the WordPress Site name in the header to view your site. 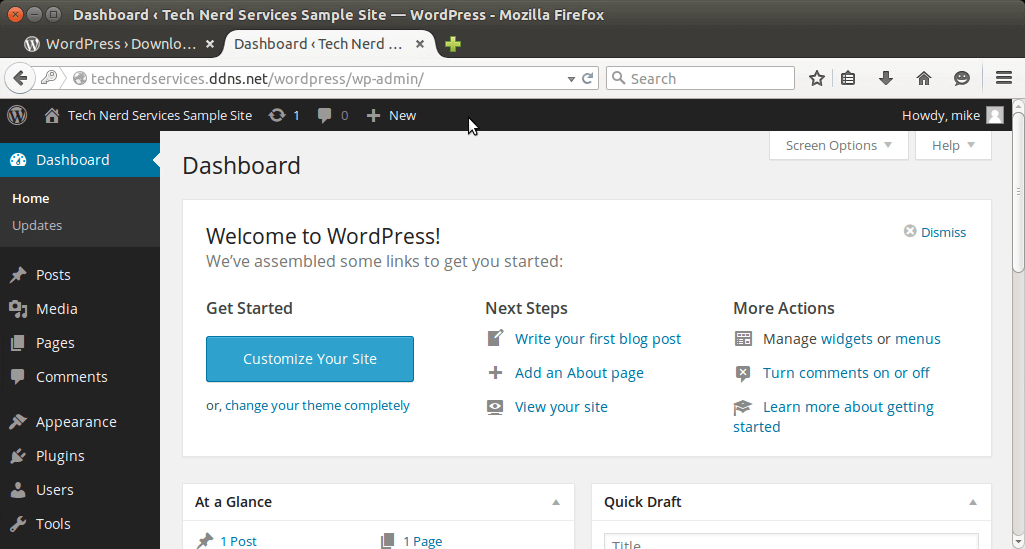
Support Us!
Thank you for reading this article. If you found it useful, please consider buying us a coffee, subscribing to the YouTube Channel, and/or changing your Amazon bookmark to our affiliate link (CAN, USA, UK). We do this out of general interests and to help others. Thanks!


April 20, 2015 at 8:23 AM
Hi there, i read your blog occasionally and i own a similar one and i
was just curious if you get a lot of spam feedback?
If so how do you protect against it, any plugin or anything you
can recommend? I get so much lately it’s driving me mad so any help is very much
appreciated.
April 20, 2015 at 6:27 PM
Hi, I use the all in one security plugin. I find it works well in keeping my site safe.
Hope this helps
(Link)
April 20, 2015 at 11:05 PM
I was suggested this blog by means of my cousin. I am not sure whether
this publish is written via him as no one else understand such
precise approximately my problem. You’re wonderful! Thank you!
April 21, 2015 at 12:28 AM
Excellent web site you’ve got here.. It’s hard to find high quality writing
like yours these days. I really appreciate
individuals like you! Take care!!