


With the use of Labels and Advanced Search, now we will look at how we can use stars and Quick Links to find important email faster.
Contents
Video Tutorial
Gmail Stars
Stars are similar to flags in Outlook with the main difference being that you can have more than four different colours of stars. Furthermore, there are stars that are not star, but other icons such as exclamation points and checks.
Stars are found to the left of the Email sender. By default there is only a single star option: yellow. We will add addition stars to the active stars.

Selecting Active Stars
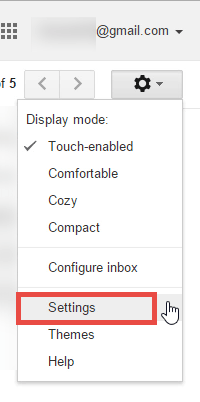
- Click on the settings gear at the top right corner of the screen and select “Settings”
- Scroll approximately half-way down the “General” settings tab until you find the “Stars” options

- Drag stars from the “Not in use” row to the “In use” row.
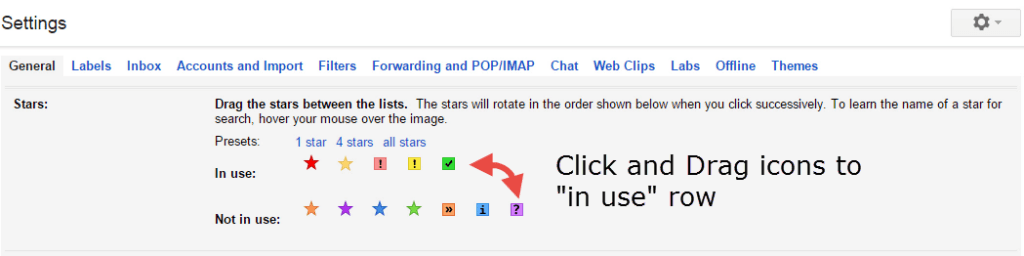 NOTE: the order in which you arrange the stars in the “In use” row matters. Stars closer to the left will appear sooner.
NOTE: There are presents above the “In Use” row that you can select as well. - Scroll down to the bottom of settings and click the “Save Changes” button.
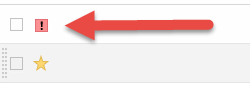
- To cycle through the different stars, click on the star of the desired email multiple times until it reaches the desired star.


Viewing Starred Emails
Starred emails can be found in the “Starred” label in the label sidebar. However, it does not separate the stars by star type.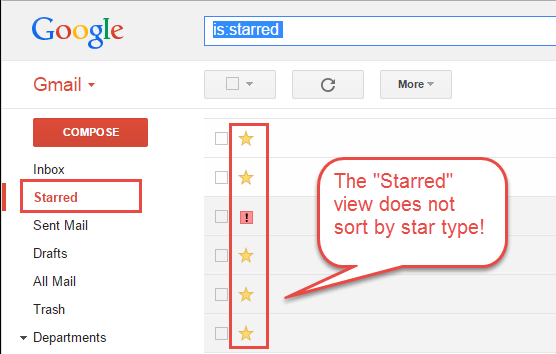
Using Advanced Search Operators
It is possible to search for a specific star by using its unique advanced search operator.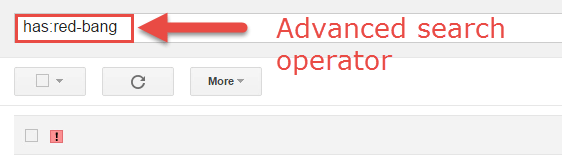
If you missed it, check out our previous article about Gmail Advanced Search.
The comprehensive list of advanced search operators for stars is as follows: Note: This image is taken from Google’s Advanced Search Gmail Help page.
Quick Links
Quick Links is a Gmail lab feature that provides a simple method of saving frequent advanced searches in Gmail. Quick Links is a Gmail lab because it is an experimental feature that is not fully integrated into Gmail.
Enable Quick Links
- Click on the settings gear at the top right corner of the screen and select “Settings”
- Click on the “Lab” tab in Settings
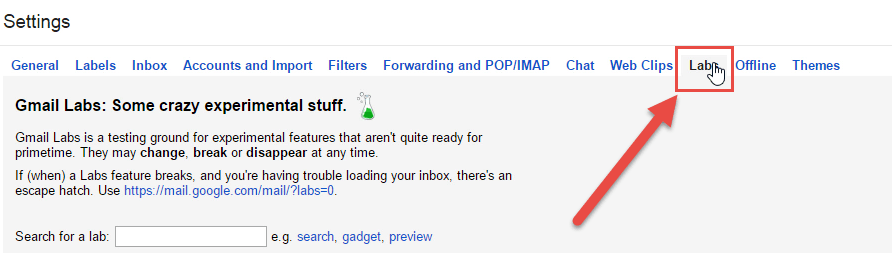
- Scroll down until you find the Quick Links feature and click the radio button beside “Enable” (A). Then scroll to the bottom of the page and click the “Save Changes” (B).

Adding Searches to Quick Links
- Click on the ellipsis beside the Google Hangout icons at the bottom left of the page. This icon will display the Gadgets box, which will have Quick Links.

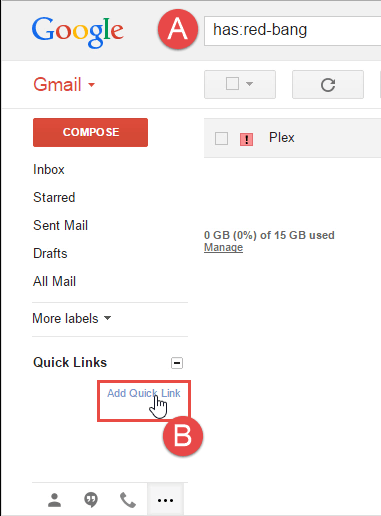
- Perform the desired search in the Google Search field (A). Then click the “Add Quick Link” link in the Quick Links gadget
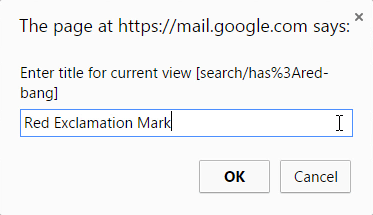
- In the following pop up, name the Quick Link. Then click the “OK” button.
- The hyperlink will now display under the Quick Links gadget
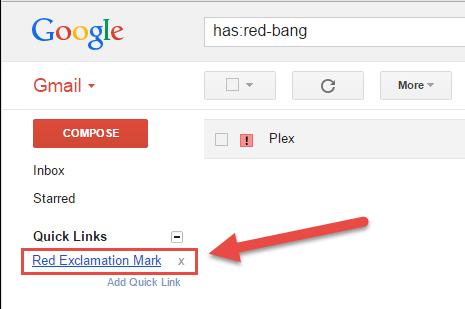
Clicking on any links in the Quick Links gadget will perform the advanced search functions.
Quick Links Quirks
- There is no way of reordering the Quick Links. New links appear at the bottom of the list. Reordering links requires deleting and re-entering links in the desired order.
- Gadgets obscure Google Hangouts when in use.
Next Time
Next time we will explore a few more Gmail labs that can lighten the email load.
Support Us!
Thank you for reading this article. If you found it useful, please consider buying us a coffee, subscribing to the YouTube Channel, and/or changing your Amazon bookmark to our affiliate link (CAN, USA, UK). We do this out of general interests and to help others. Thanks!


Leave a Reply