


Email has quickly become the number one method of communication between individuals and corporations. From newsletters to private messages, it doesn’t take long for the inbox to fill with a digital mountain of mail. Google Gmail provides many tools to help manage incoming mail. Read on to find out how Gmail categories and labels can organize email efficiently.
Video Tutorial
Categories
Categories use Google’s algorithms to separate incoming email in your inbox into separate locations based on the content of the information. There are up to 5 categories to choose from: Primary, Social, Promotions, Updates, and Forums:
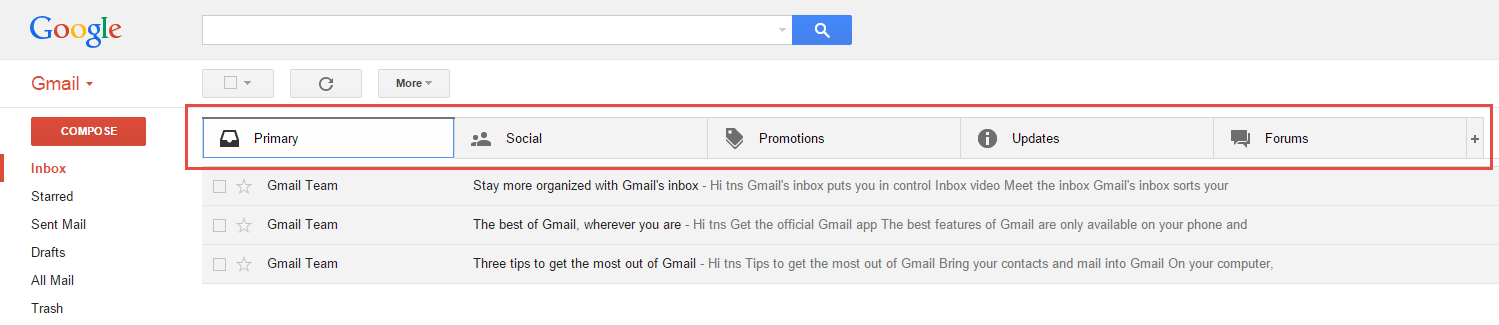
These categories or not changeable. You are only able to select which ones are visible.
Enabling and Disabling Categories
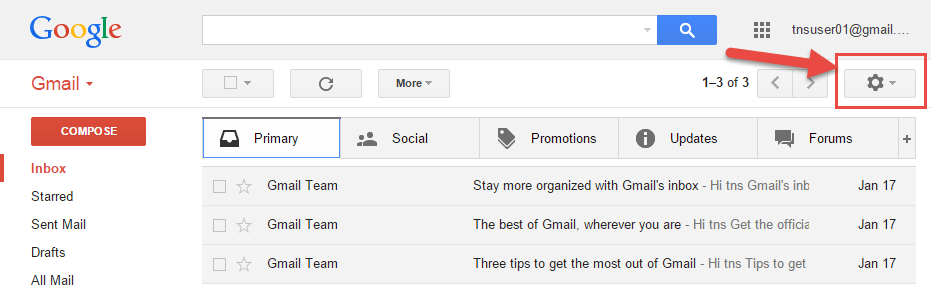
- Click on the Settings Gear.
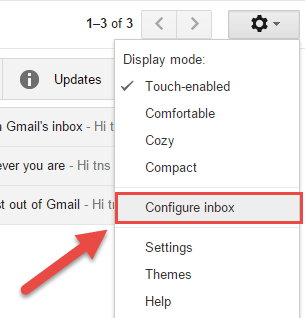
- Click on “Configure Inbox” in the menu.
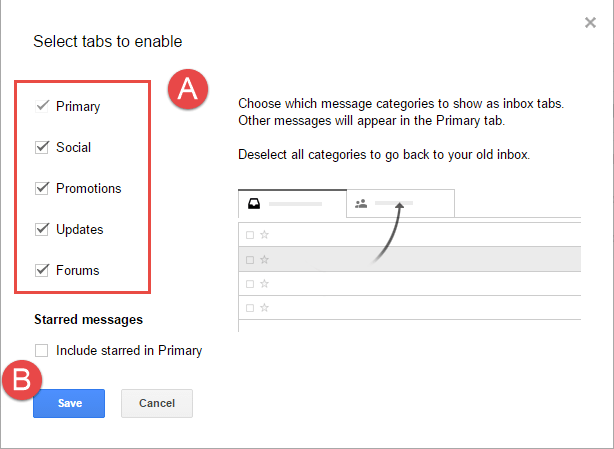
- Ensure that there are checks in the check boxes of the desired categories. Then click the “Save” buitton.
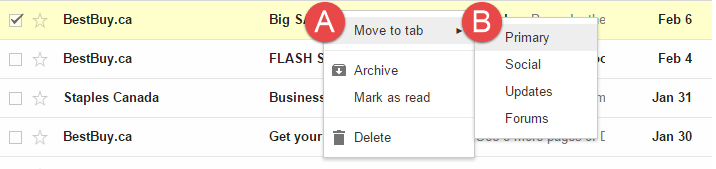
Moving an email to a difference Category
By right clicking on an email in your inbox, you will be able to select which category the email falls under. Subsequent similar emails will also fall under the same category.
Find out more about labels at Google’s Help Center.
Labels
Labels vs. Folders
Labels are similar to folders in Microsoft Outlook. However, while Outlook only allows a single location, whereas Google Labels allow multiple labels to be applied to a single email. (Note that there is only a single email. Therefore, if the email is deleted, it is no longer visible in any label location). Take the following example:

For folders, you would need 16 folders to properly organize 3 projects with three of the sub-folders. When using Labels in Gmail, the total number of Labels needed is only 6, reducing the amount of labels needed. Labels can then be nested by classification:

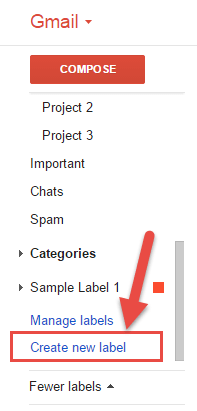
How to Create Labels
- Click on the “More Labels” line in the Label List (left sidebar).

- Scroll to the bottom of the label list and click the “Create new label” line.
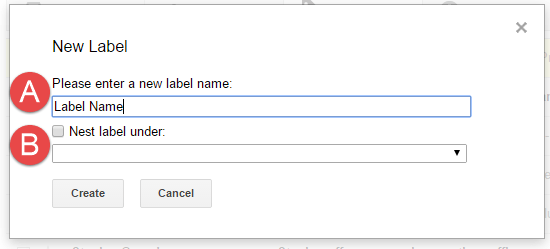
- Fill out the Name field for the label. You can also select a pre-existing label to nest the new label under. (Just like sub-folders).
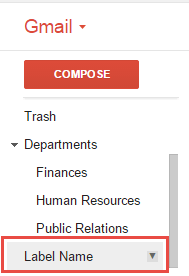
Your label will now appear in the Label List.
Label Features and Settings
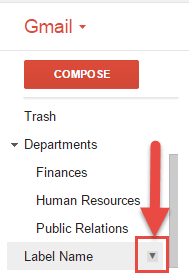
Labels have additional features found in the drop down menu of the label when the mouse is hovering over the label in the Label List.
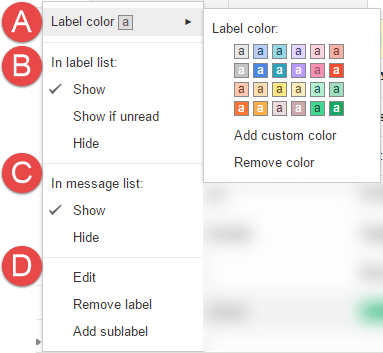
A. Label Color
Allows you to select a color for the label in which a colored square will appear beside the label in the Label List and the label will be that color in the menu list.

B. Visibility in the Label List
The Label List refers to the right sidebar where all labels are visible. The difference between “Show” and “Hide” is whether the label is above or below the “More Labels” line. Labels that are hidden appear below the “More Labels” line and are not visible until that section is expanded. The in between option “Show if unread” will bring a label from the hidden section to the visible section if there are any unread emails in that location. This feature usually required filters (similar to Outlook rules) that redirect emails to specific labels other than the inbox.
C. Visibility in the Message List
The message list is the lines where the subject and first few words of the email are visible in the inbox. If there are many labels attached to an email or if there are labels with long names, then hiding them from the message list allows more of the subject line to be visible.

D. Label Settings
These options allow you to edit, remove, or add nested labels to the selected label. Note that removing a label does not delete the emails associated with the label.
Global Label Settings
Settings for all labels can be found in the Settings menu. This location allows you to change the settings of multiple labels at once.
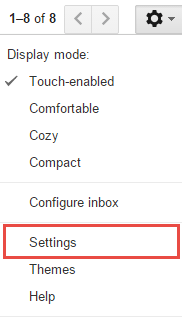
- Click on the Settings Gear
- Click on Settings in the menu
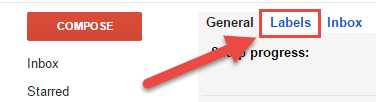
- Click on the “Labels” tab
Find out more about labels in Google’s Help Center.
Next Time
While we have chosen some categories and created some labels, there are still some limitations that we clarification. For example, how can you find emails that have two or more labels on them? These questions will be answered in Part 2.
Support Us!
Thank you for reading this article. If you found it useful, please consider buying us a coffee, subscribing to the YouTube Channel, and/or changing your Amazon bookmark to our affiliate link (CAN, USA, UK). We do this out of general interests and to help others. Thanks!


Leave a Reply